


The Best Nuke CS2 Strategies: Master CT Side Defense
Often referred to as the most CT-sided map in all of Counter-Strike due to the number of matches that have been won solely based on a team’s performance during their defending side, Nuke has been a staple in players’ hearts for generations.
As one of the oldest maps still being widely used today, especially in pro play, lots of different ways to play Nuke have been unlocked over the years. With minor updates and a bright new set of young players entering the game each year, there are just so many different gameplay elements that can be added to your very own matches.

For a complete guide on mastering Nuke Callouts in CS2, check out this article:
Nuke A Site Counter-Terrorist Utility
Nuke’s A Site is in the main building of the map, which limits the amount of utility that can be thrown compared to maps with more open spaces like Dust 2 and Mirage. Still, that doesn’t mean it’s impossible.
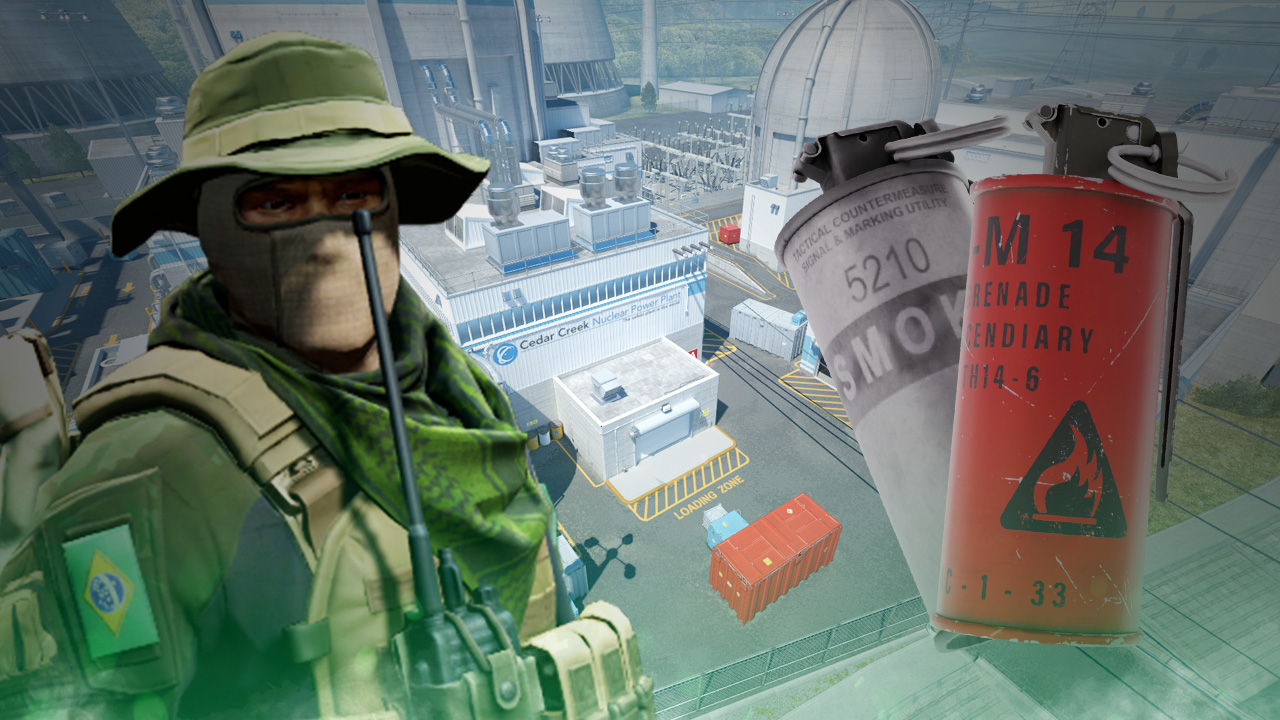
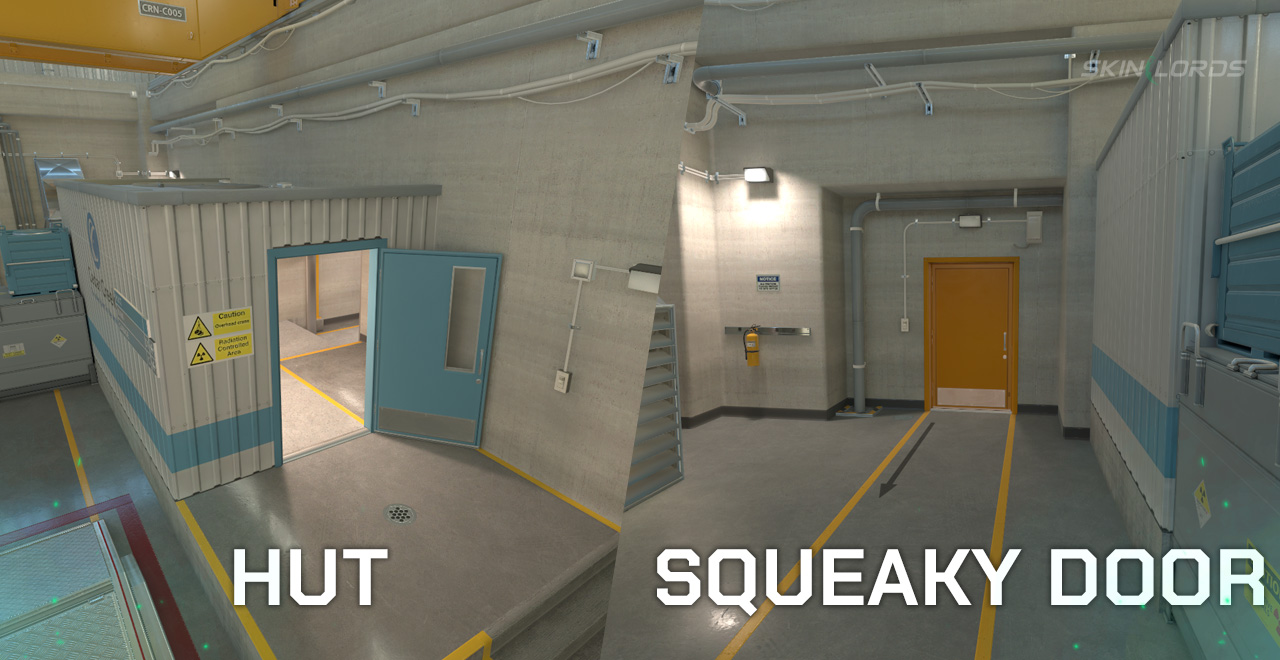
There aren’t a whole lot of lineups that can be thrown or need to be learned while playing as the CTs on Nuke, especially with the advantage of always having superior positioning. Throwing utility, particularly Incendiary Grenades or smokes, towards Hut and Squeaky Door will push back any attempts at a quick rush and give the rest of the CTs more time to set up in off-angles.
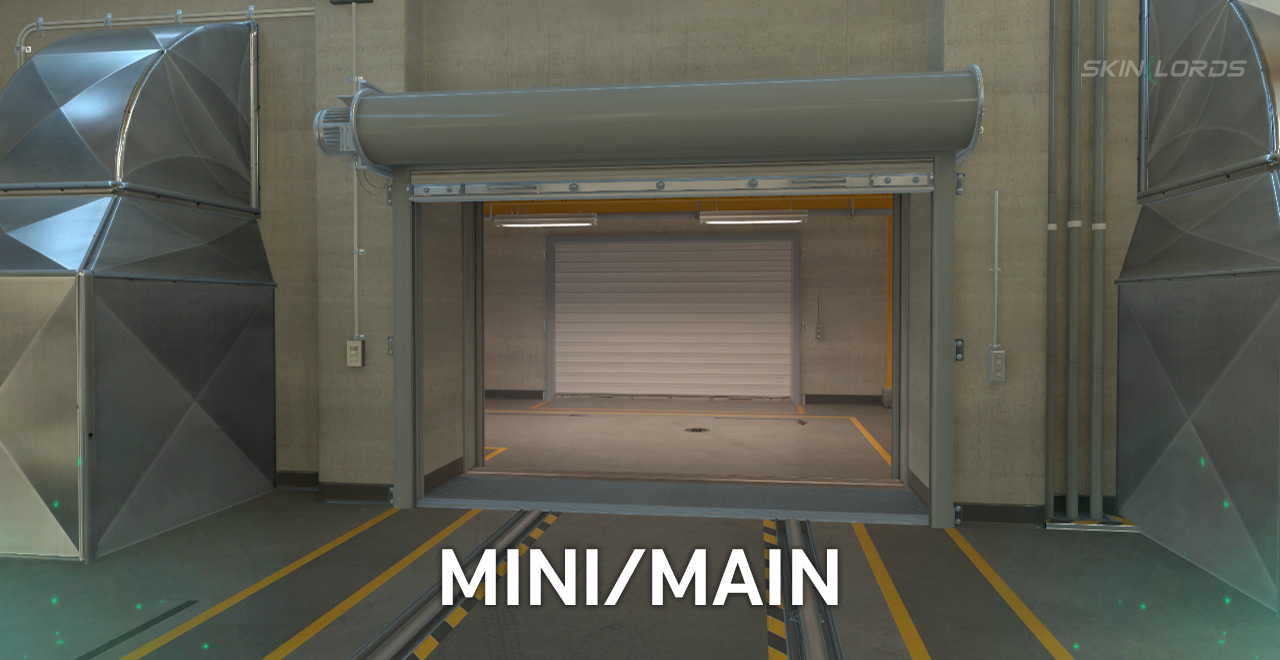
Getting deeper into the round also means more angles have been pushed up by the opposing side, leaving more entry points for the Ts. Mini now comes into play as a common area the Terrorist team pushes, and in this case, a smoke is often the more effective choice for complete vision denial.
Nuke B Site Counter-Terrorist Utility
Similarly to A Site, Nuke’s lower bomb site does not really have lots of well-known utility lineups other than aiming directly, clicking, and releasing the designated fire button. Still, there are always key positions that are worth checking out and throwing a HE or an IE towards on the chance that it could delay enemy advances.
CT players usually find their way to B through Ramp, and from there, they are stuck holding positions until they hear significant movement around the area. Both Single and Double Doors are typically flamed or smoked to block off the Ts, especially during rounds where a fast Vent play is possible. For CTs that didn’t pass through Ramp to get down towards B, throwing combinations of smokes and Incendiary Grenades towards Bottom Ramp is the ideal play.

When it comes to overall positioning, Dark is one of the most powerful locations on B Site for defending players to hide. It’s a well-known corner of the map, but it often goes unchecked, especially during rounds where the Ts are pressed for time.

Nuke Mid-Round Rotations
Coming from either Single or Double Doors after a rotate or retake instantly means that areas like Ramp or the platform right above the planting area of B Site are blind spots. The Window/Control Room is also another common hiding spot for anyone and should always be checked, even when time is running out.
Since both bomb sites are in the same area, just on top of each other, most rotations will go through the main structure itself. Vent and Ramp are the two ways to move through the upper and lower sites, and as the CTs, the passageway to Secret is also a lot safer since it is on the defending side of the map.
Similar Articles
See all
CS2 Guides
Best FUT Cologne 2026 Sticker Crafts
07.14.2026
0
15
CS2 Guides
Best Monte Cologne 2026 Sticker Crafts
07.14.2026
0
12
Related Casinos
Leave a reply