


Rust Crosshair Guide: How to Use and Customize Crosshairs
Crosshairs provide a massive advantage inside of Rust, allowing you to easily readjust and keep yourself centered on targets during combat. With the recent Meta Shift update, the in-game crosshair received a rework, allowing for complete customization of the once basic crosshair. In this article, we will be going over how to create and use a crosshair inside of Rust.

Check out the rest of the Meta Shift update in our update guide:
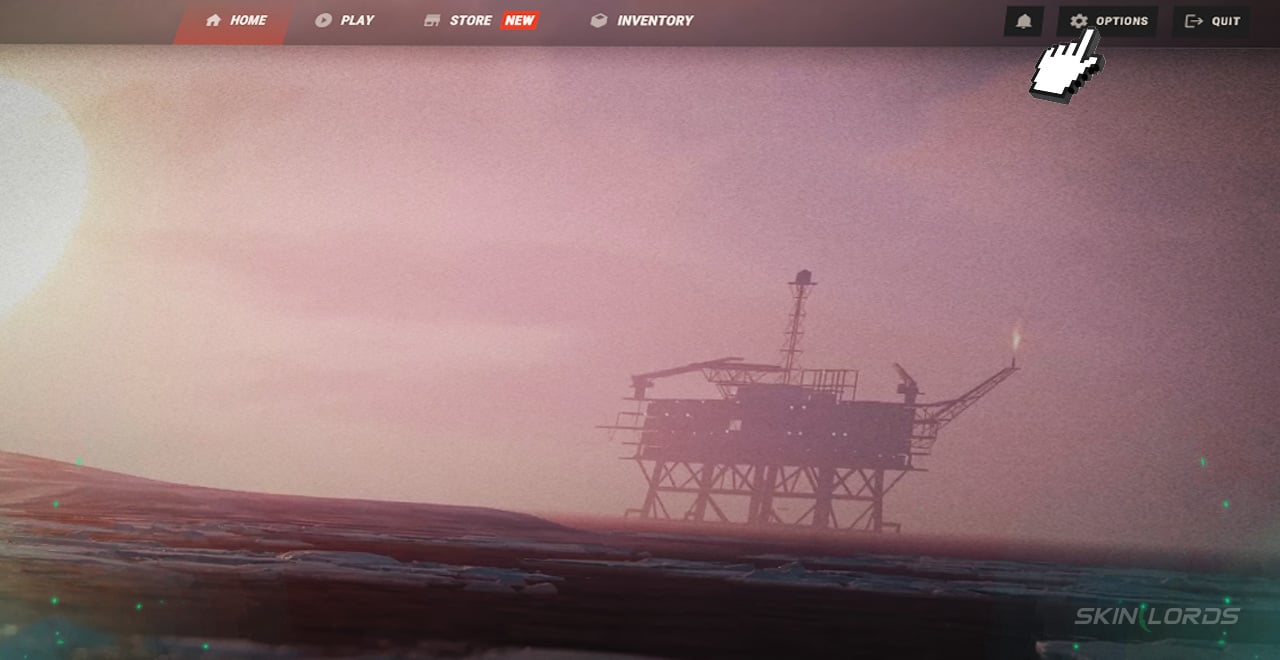
Where to Find Rust Crosshair Settings
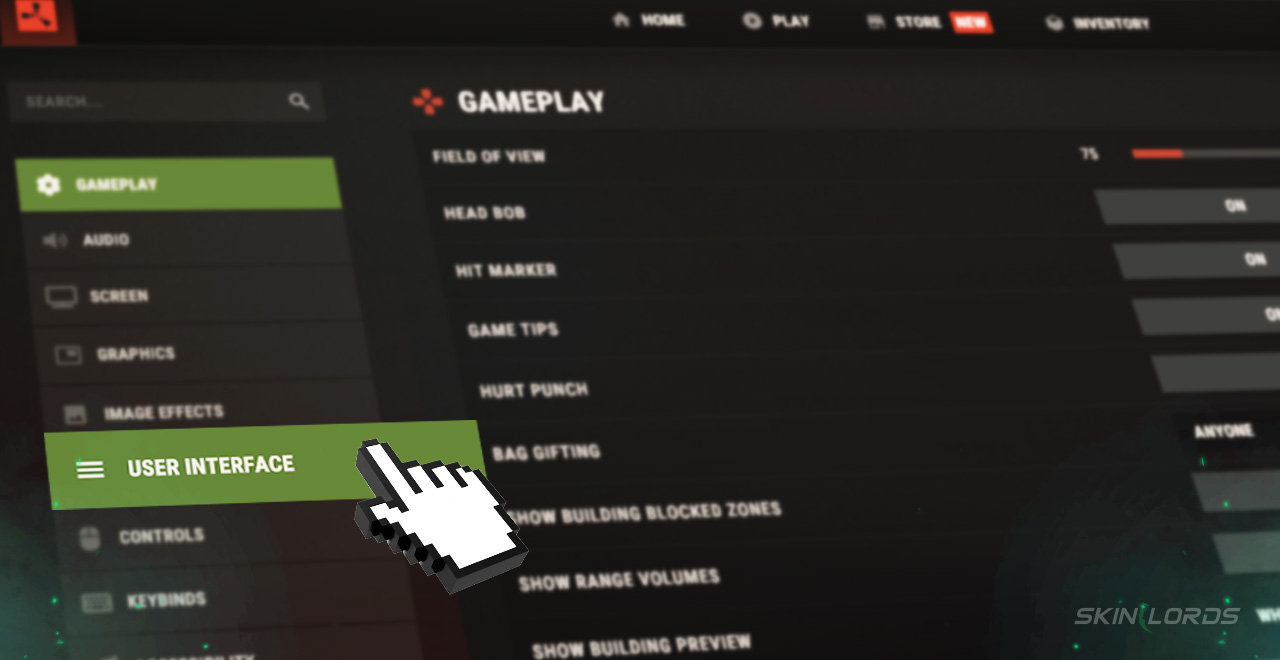
When creating a Rust crosshair, you must first access Rust’s settings by clicking the “Options” button in the top-right of the main menu. Head to the “User Interface” settings on the lower left side of the menu. After scrolling down to the third header, you will find all of the game’s crosshair-related settings.
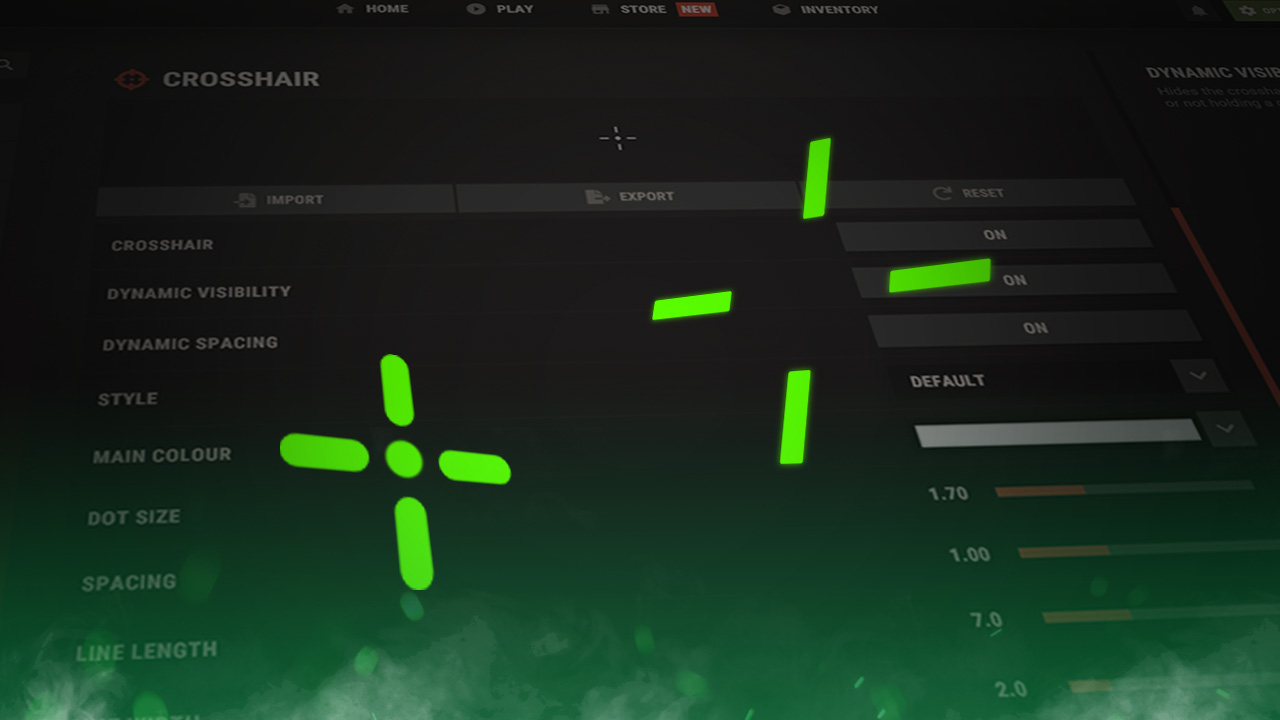
How to Customize Rust’s Crosshair
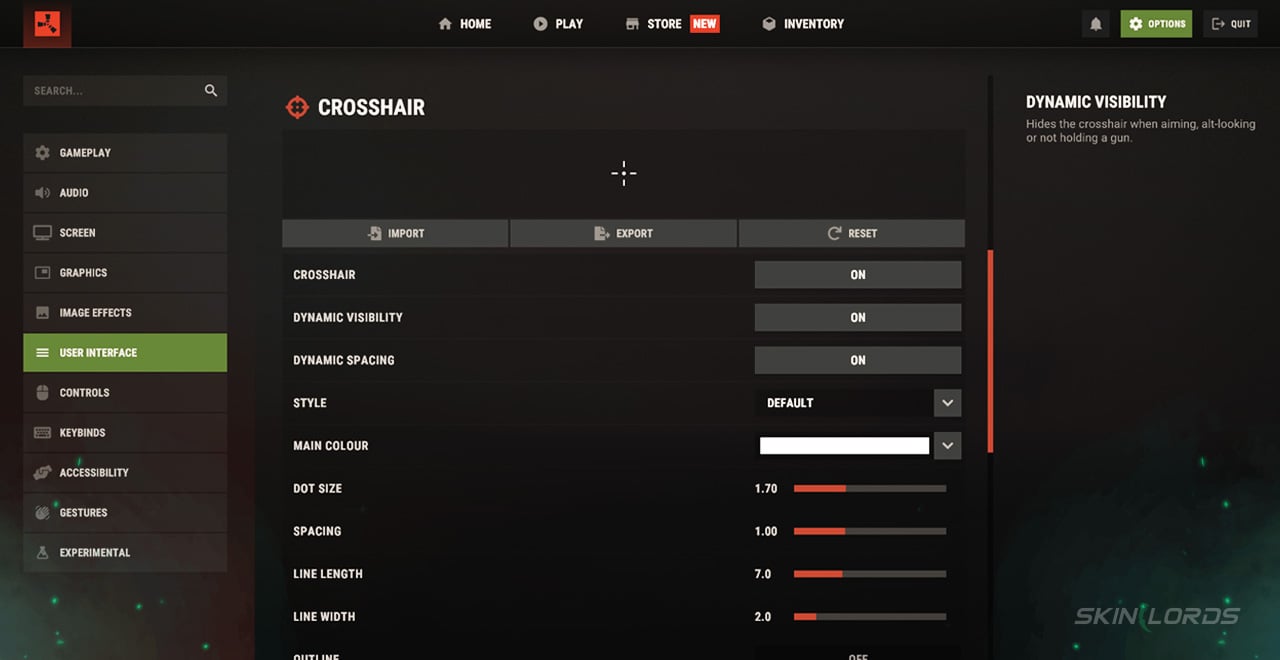
You may be overwhelmed by the number of settings at first, but don’t worry, as we will guide you through each and every one.
-
1Crosshair – Enables and Disables the crosshair
-
2Dynamic Visibility – Automatically hides the crosshair when it isn’t necessary
-
3Dynamic Spacing – Adds bloom to the crosshair, indicating accuracy
-
4Style – Allows you to choose the shape of the crosshair.
-
5Main Color – Sets the primary color of the crosshair.
-
6Dot Size – Controls the size of your crosshair’s central dot.
-
7Spacing – Adjusts the difference between your outer lines and the central dot.
-
8Line Length – Adjusts the length of outer lines.
-
9Line Width – Adjusts the width of outer lines.
-
10Outline – Toggles an outline around the entire crosshair.
-
11Outline Color – Changes the color of the crosshair’s outline.
What Crosshair is The Best?
While crosshairs are entirely subjective, with almost every player having their own unique crosshair, most of the time, a compact and vibrant crosshair that is easy to see and doesn’t take up much space is the way to go. This can be achieved perfectly with a purple-colored crosshair that does not blend into any of Rust’s environment. Follow the color with a default style, 0 dot size, 0.33 spacing, 3.8 line length, 1.0 line width, and no outline.
That’s the end of our ultimate Rust crosshair guide. Take your newly-made crosshair and get an edge over both new and experienced enemies. If you enjoyed this article, be sure to check out our others, such as our Blueprint Fragment Crafting Guide. See you next time!
Similar Articles
See all
Rust Guides
Rust Twitch Drops: Bears For A Better World Twitch Drop Event
07.10.2026
0
22
Rust Guides

Related Casinos
Leave a reply