


The Best Dust 2 CS2 Strategies: Master T Side Utility Usage
There’s no other situation in all of Counter-Strike where the phrase “Rush B” is thrown out jokingly or even seriously considered compared to T Side on Dust 2. As classic a strategy as this has been and will continue to be, even casual players can find themselves making better tactical decisions on the most iconic map in the whole Counter-Strike series. This guide will unlock better Dust 2 Strategies beyond “Rush B,” all of which stem from mastering Dust 2 utility.

For a complete guide on mastering Dust 2 in CS2, check out this article:
A Site Terrorist Utility
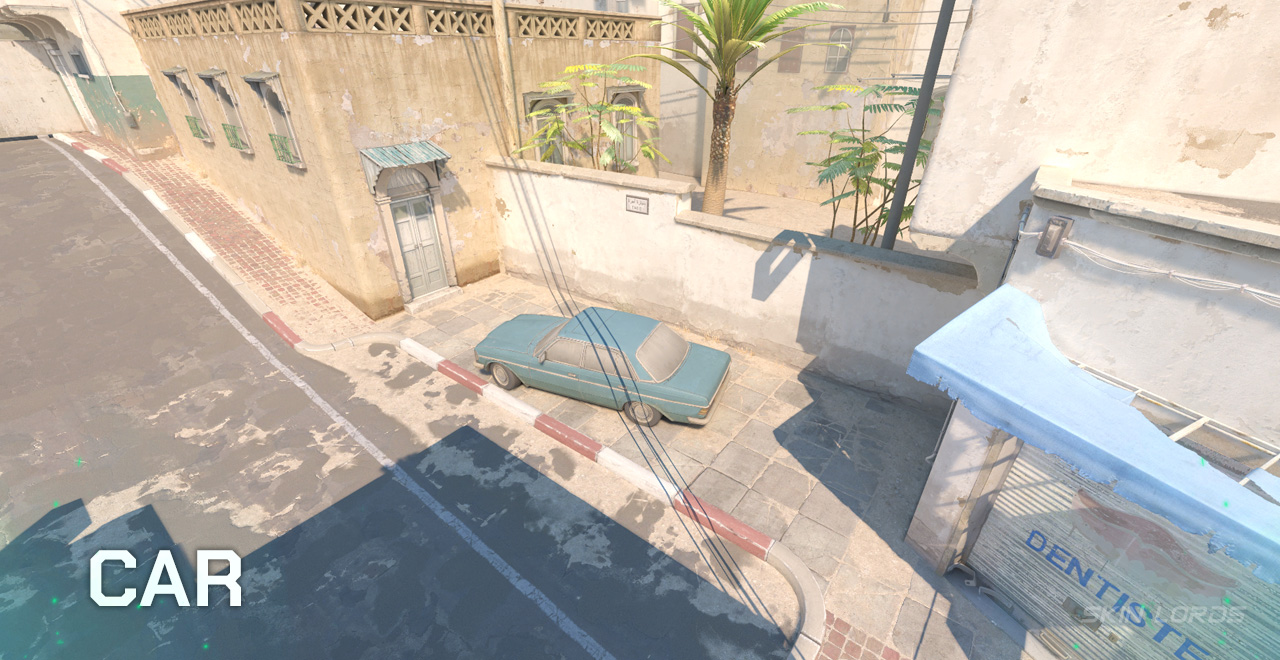
Utility usage towards Dust 2’s A Site is pretty straightforward, and even though you’ve never studied any form of lineup previously, chances are you’ve picked up one or two things naturally. First is the standard Molotov towards Car, which is a simple point-and-click action to force out the defender hiding in the corner.
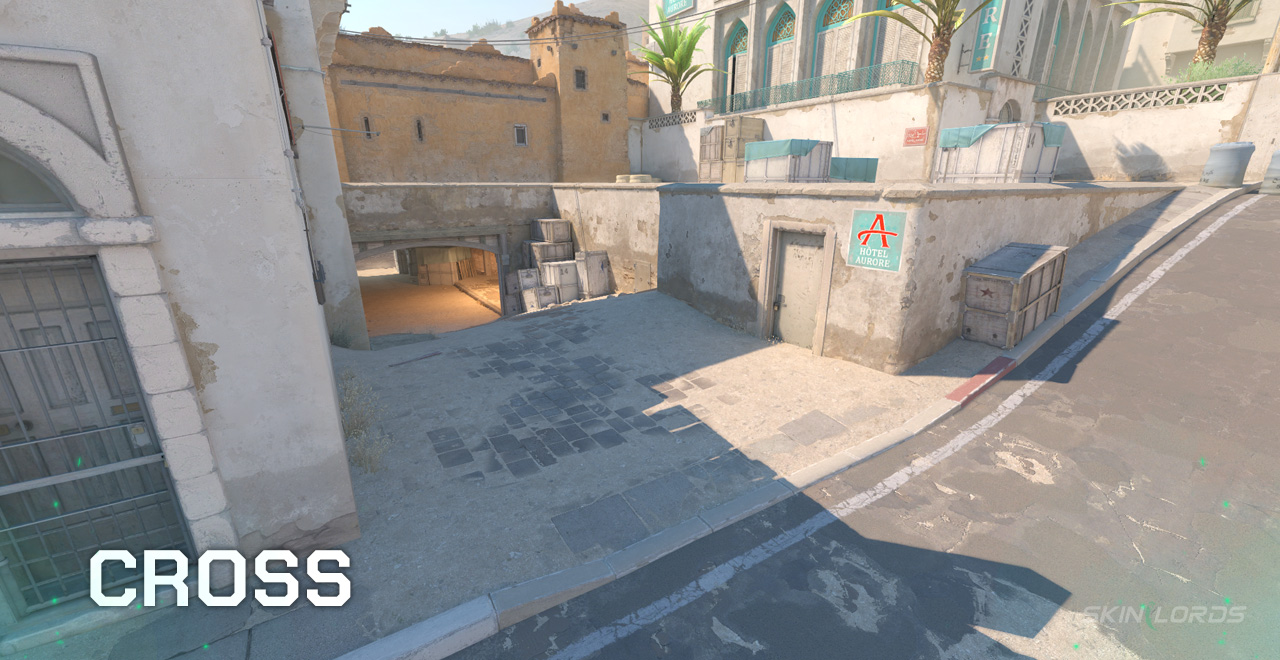
Next is a commonly thrown smoke that happens on pretty much every single instance that the T Side rushes down Long Doors. There are different variations of how to throw this smoke, such as from behind Bedroom/Long Doors entrance as seen in the video below, or even while running before making the peek towards the open section of A Long itself.
The Elevator area smoke cuts off defenders’ vision from CT Spawn and will more likely than not force them to parkour upwards to the site itself, which makes checking for angles a whole lot easier now that a big area is completely covered off.
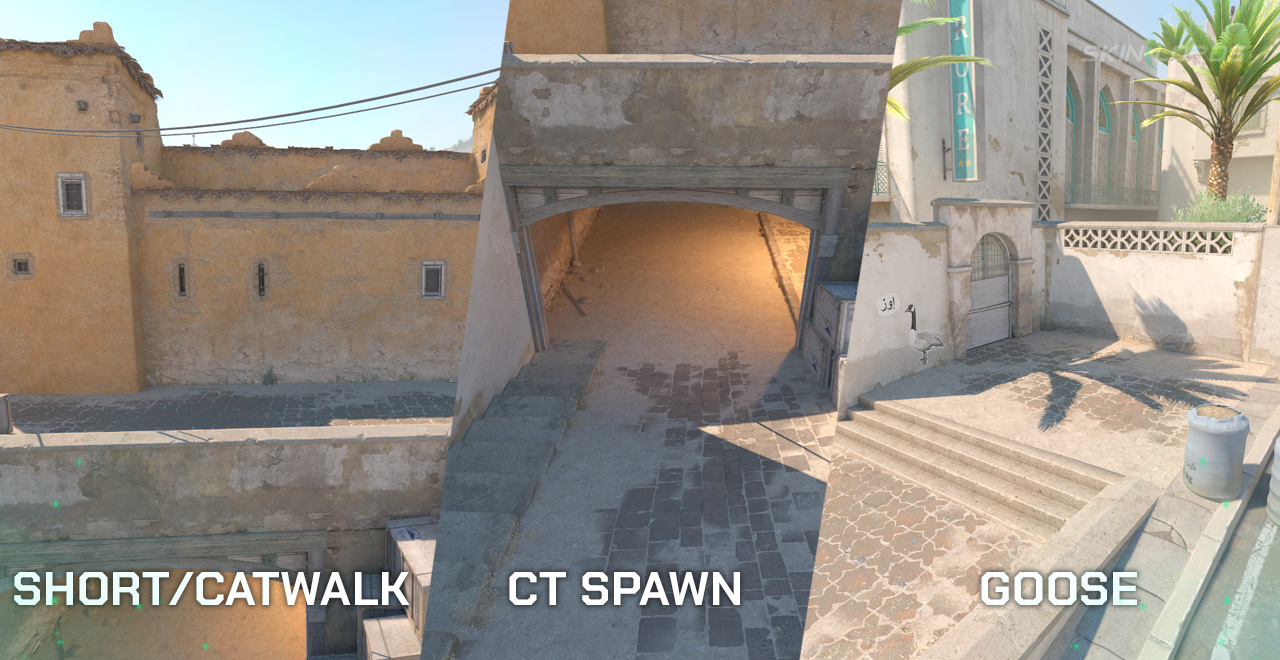
Other follow-up utility thrown once Long has been pushed to an extent are towards Goose, A Short/Catwalk, and deeper into CT Spawn. These are all key positions that enemy players take during the course of a round and will typically be the most contested spots on Dust 2’s A Site.
B Site Terrorist Utility
The Terrorist team on Dust 2 is blessed with so much more variety when it comes to utility options on B Site compared to the CTs. There are multiple lineups that can be thrown from the attackers’ side of the map to cover off entrances to B, which can easily be combined with more damage-dealing utility thrown from Tunnels.
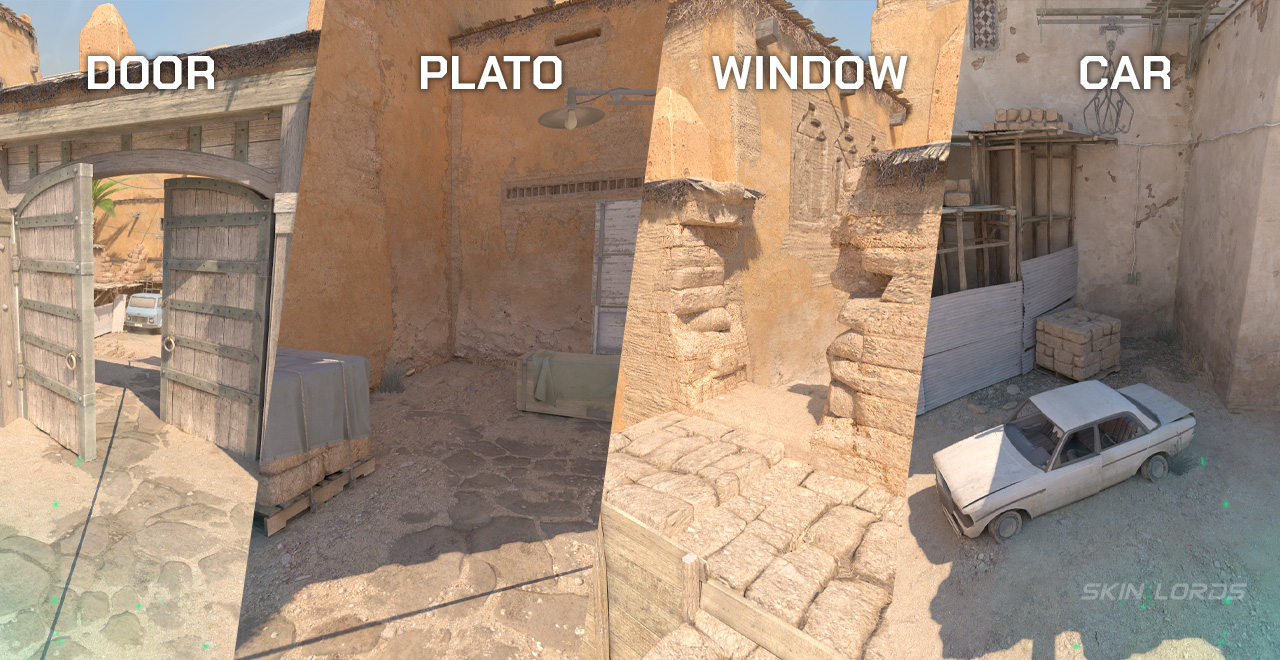
Usual spots that Terrorists target on B Site are B Doors and Window for smokes, Car (B Site Car) and Plateau for Molotovs, and pretty much anywhere around Default/Back Site for Incendiary Grenades. They can easily be thrown from the Tunnels entrance by pointing and releasing towards the general direction, but there are also some advanced lineups that may be quite challenging to pull off.
Mid-Round Rotations
Mid-round rotations on T Side are usually decided within the first few seconds of the game, since plays towards Lower Tunnels from a failed B push or towards Mid Doors/A Short from a delayed attack on the opposite side of the map are called early on.
Mid control is a key part of a team’s ability to rotate quickly on Dust 2, since it’s equally close and useful to both teams’ spawn points. A popular smoke on Mid is the Xbox smoke, which covers off vision from any CT players on the other side of Mid Doors to grant safe passage for Ts pushing up Short.
Having control of Mid, especially during mid-round scenarios, gives you lots of options on whether or not to retry a push on the current bomb site you’re closest to or dump a small amount of utility to effectively start an attack on the opposite end of the map.
Similar Articles
See all
CS2 Guides
CS2 Guides

Which CS2 Cases Have Sport Gloves?
07.12.2026
0
11
Related Casinos
Leave a reply