


The Best Dust 2 CS2 Strategies: Master CT Side Utility
The undisputed most popular map in all of Counter-Strike, and quite possibly, the soul of the franchise itself. Dust 2 (and its predecessor, Dust) has been around forever and is considered home by many.
Utility lineups, especially in more casual gameplay, are not as widely used on Dust 2 compared to others, such as Mirage. While many have spent years mindlessly running around this map and engaging in pure firefights, basic utility usage is enough to completely change the dynamic of an entire game.

For a complete guide on mastering Dust 2 in CS2, check out this article:
A Site Counter-Terrorist Utility
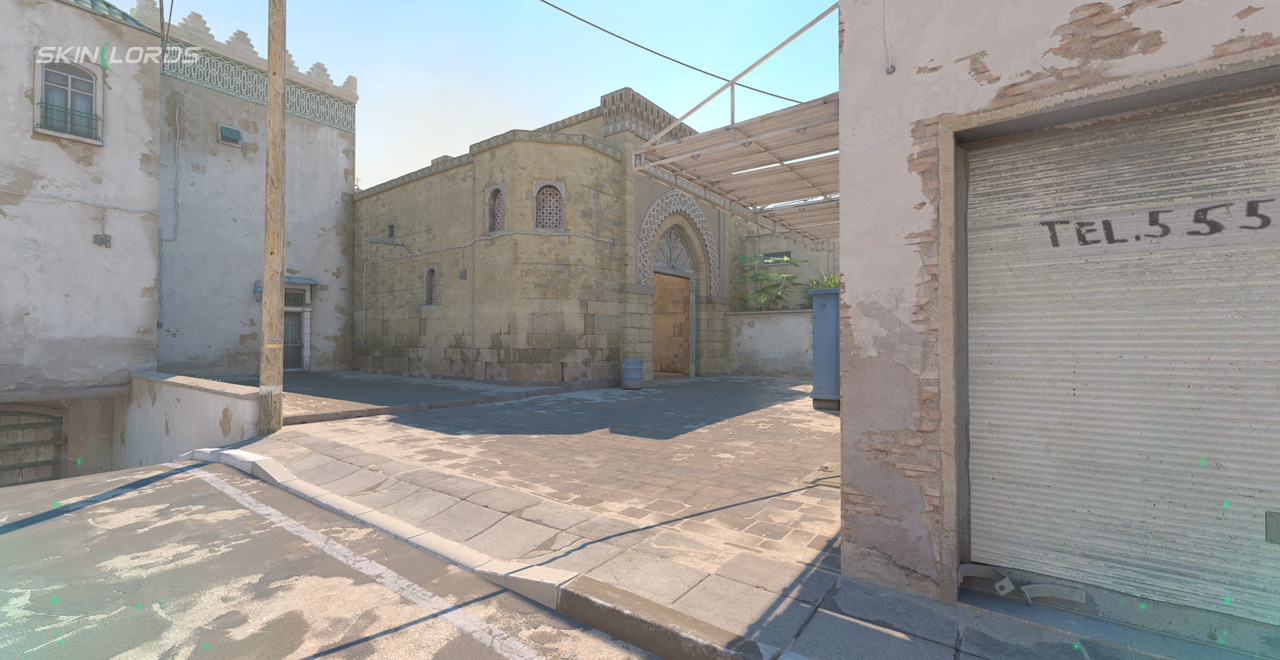
Dust 2’s A Site can be found on the immediate left side of CT Spawn, which pretty much gives the Counter-Terrorists the timing advantage every single round. The two most important spots to cover off from here are Long and Short/Catwalk.
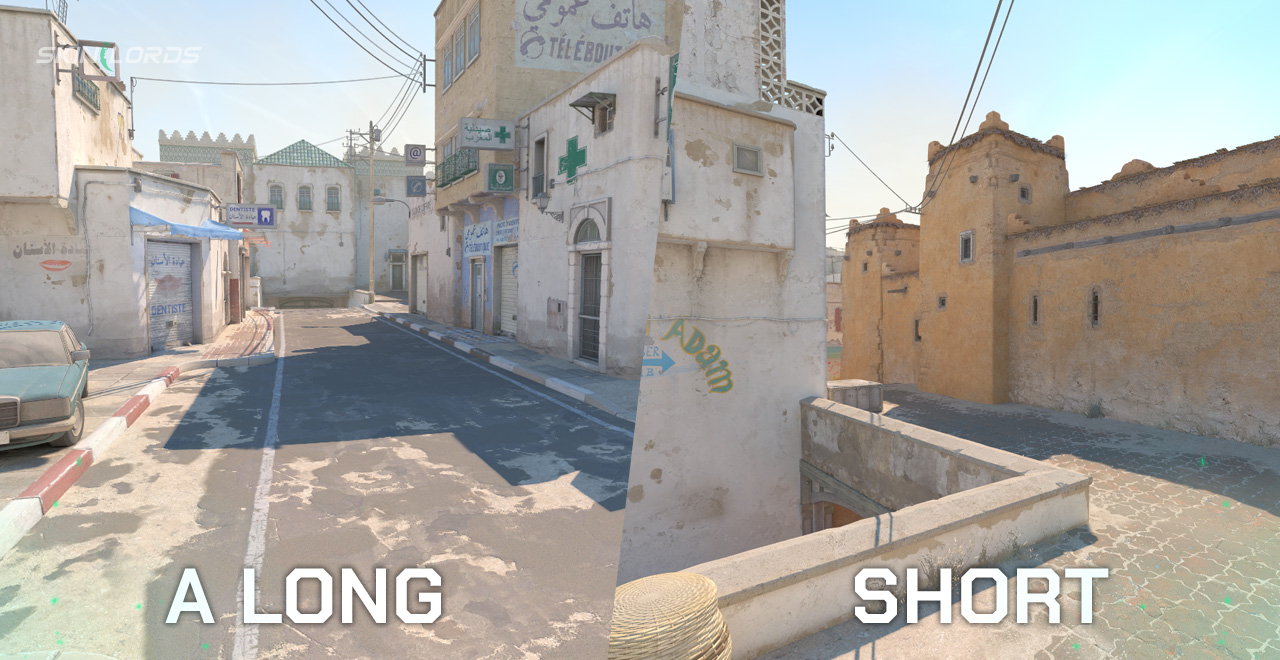
Usually, Short/Catwalk is covered by one player in the rotator position since they will usually be the first to respond if the call changes to a B Site push. Simple point-and-click Incendiary Grenades and smokes to cover off the general area are pretty much all you need when it comes to this part of the map.
For Long/Long Doors, however, simple knowledge of some lineups would drastically improve the CT players’ chances of pushing up further and securing positional advantage, especially in blind spots. Covering the exit from Bedroom/Long Doors will definitely stall the attacking side for a significant amount of time, as pushing through blindly will leave them exposed to way too many angles to check.
Most utility usage on Dust 2’s A Site from a Counter-Terrorist perspective is usually thrown as a counter to what the Terrorist team does first. Standard utility usage that the attacking side can throw are Molotovs towards Car, smoke lineups to cover off CT Spawn/Elevator, and Molotovs towards default B Site.
Making use of Incendiary Grenades to clear smokes and gain a few seconds of vision, or even disrupting the Molotovs with smokes towards the same area, will level the playing field once again. These are commonly found in matches of any skill level, so it’s good practice to anticipate that they will happen more often than not over the course of a full game.
B Site Counter-Terrorist Utility
On B Site, utility lineups from the defending perspective are very minimal since there’s only one narrow entry point in the first place. That being said, there is a very effective combination of utility that can be thrown, especially when expecting a fast rush into B.
All you need to cover off Tunnels is a Smoke Grenade, an Incendiary Grenade, and an HE Grenade. The first two are thrown almost simultaneously, with the Smoke Grenade filling up the length of Tunnels while the Incendiary Grenade is dropped just outside on the main entry point towards B, quickly punishing anyone that dares to push out into site despite limited vision.
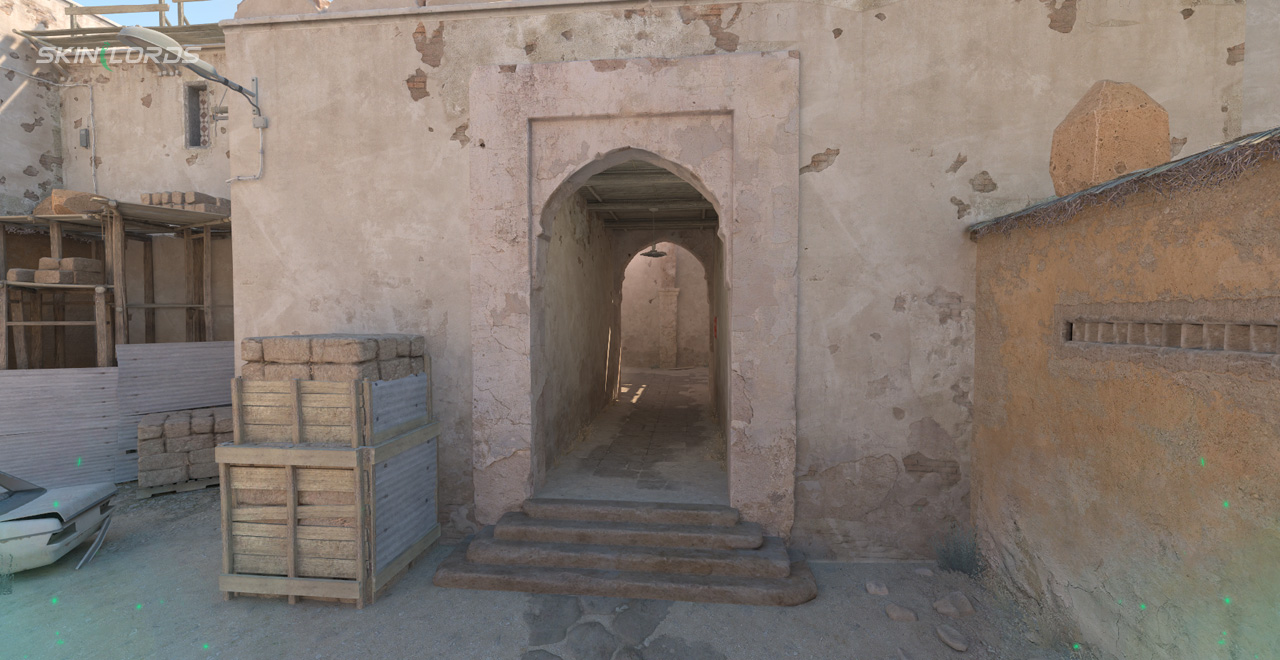
Finally, the HE Grenade is thrown deep towards the middle/back part of Tunnels to deal significant damage on the players that are waiting for the prior utility to dissipate. This can be pulled off by one player, but combined efforts from everyone on the team will make it an even more effective tactic.
Mid-Round Rotations
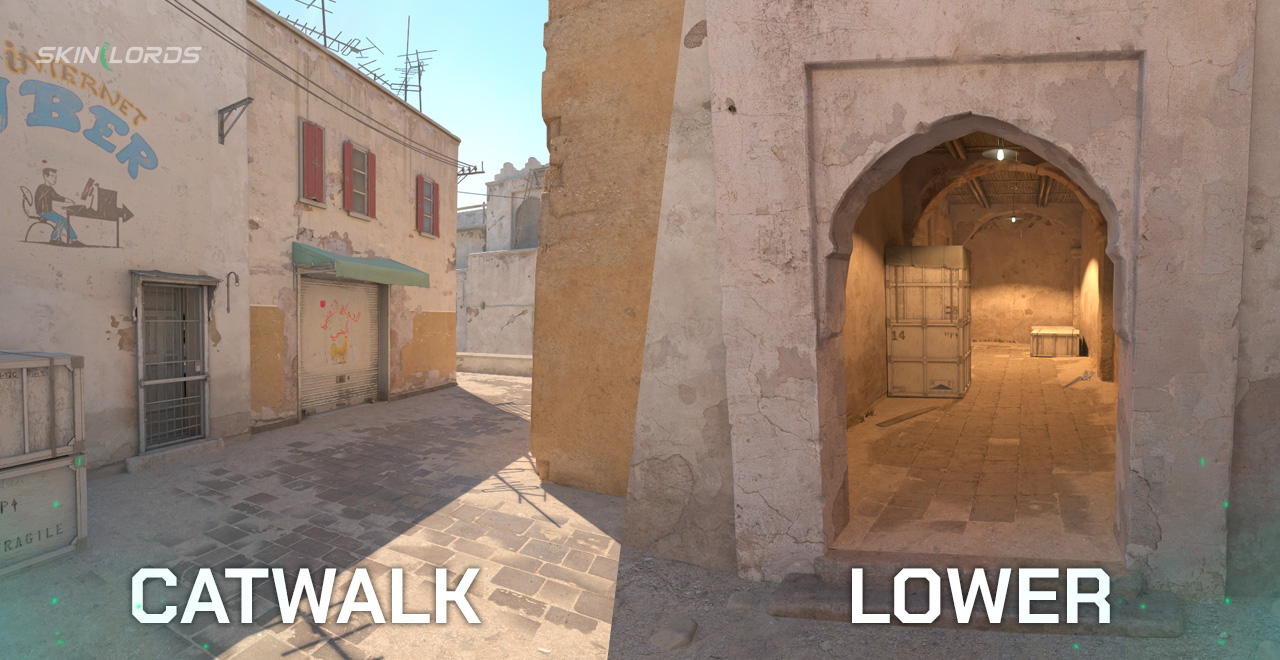
Counter-Terrorists play mid-round rotations on Dust 2 through information that their designated Catwalk/Mid Doors players are usually able to convey. They need not engage in direct fire to call for rotations or change the round approach; they can also dictate how the round will go through the amount of space they are able to clear and control.
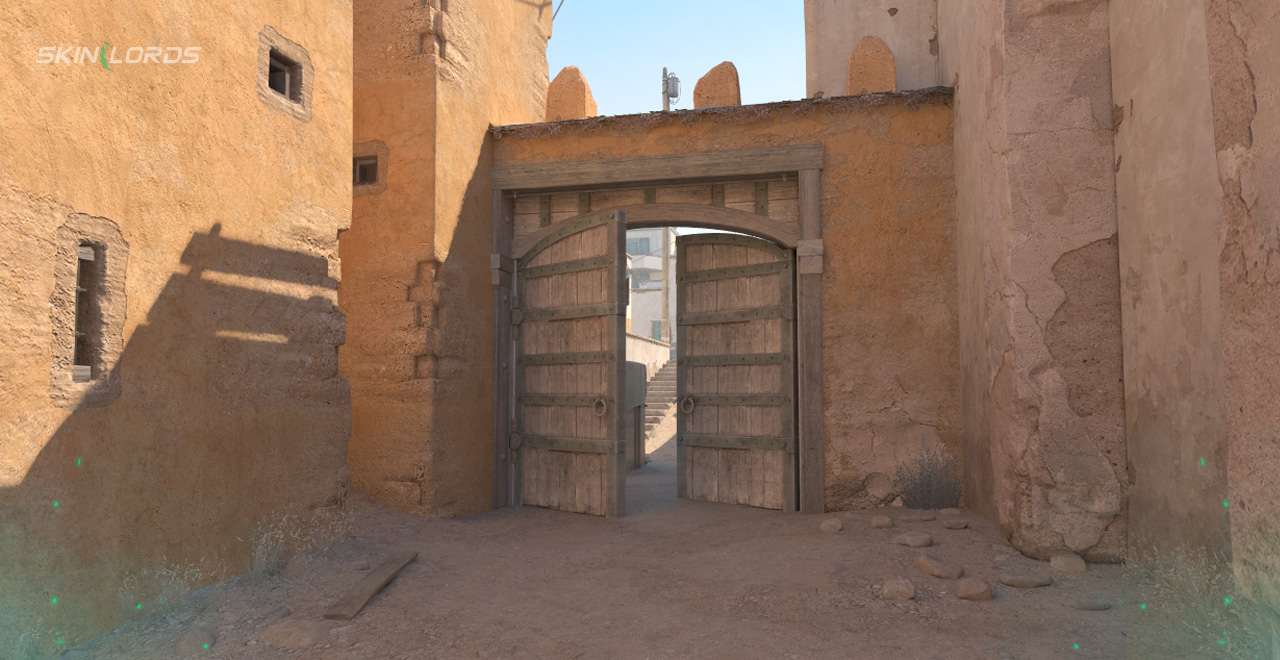
For instance, the Catwalk player, after an extended time without action, will usually push up all the way to Suicide/Long Doors before making a decision on what to tell the rest of their team regarding the attackers’ positions.
Crossing over towards Catwalk/Lower Tunnels is always an option, but CTs have the ability to safely navigate between either bomb site on their own half of the map, which greatly reduces the risk of a failed rotate.
Similar Articles
See all
CS2 Guides
Best FUT Cologne 2026 Sticker Crafts
07.14.2026
0
15
CS2 Guides
Best Monte Cologne 2026 Sticker Crafts
07.14.2026
0
12
Related Casinos
Leave a reply