


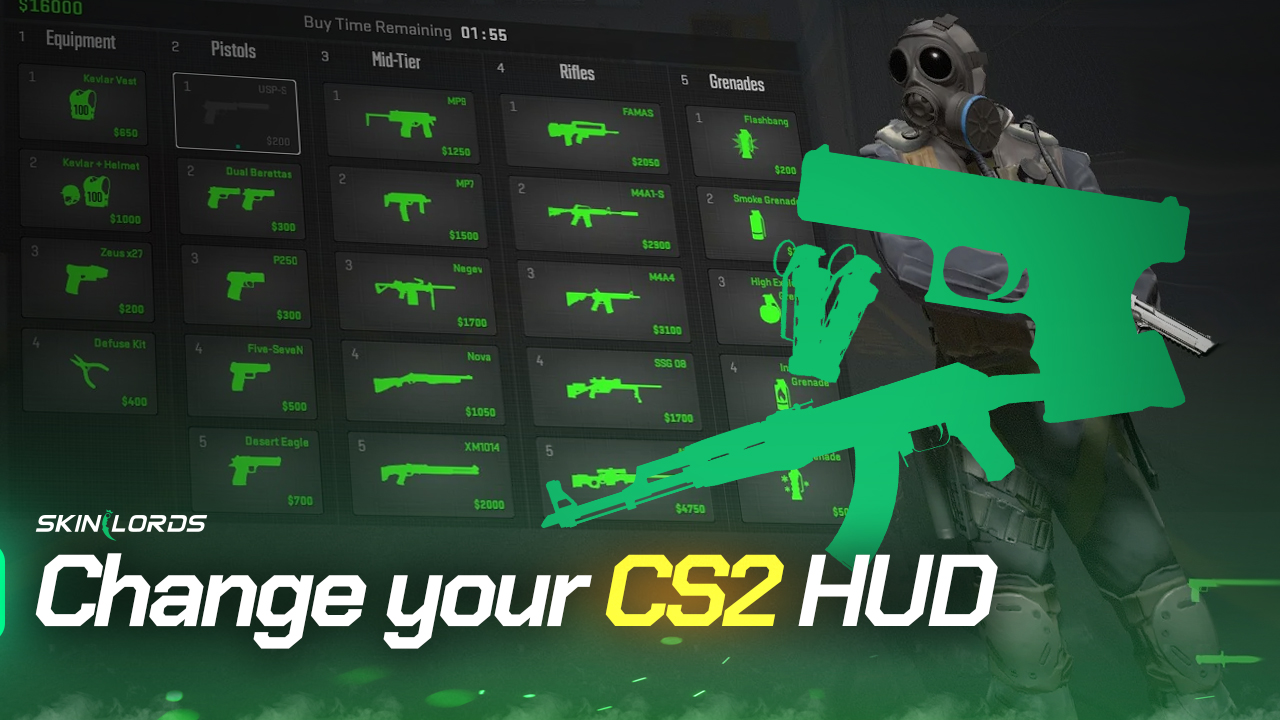
How to Change Your CS2 HUD
The CS2 Heads-Up-Display (HUD) is one of the most important tools you have to your advantage, providing almost all the information available to you in each game. To fully utilize this tool, however, it’s important to find the settings that feel most comfortable to you while highlighting information that may be hard to see in the default HUD. You may have already experimented with changing your radar, but you can use console commands in the developer console to easily change everything from the HUD scale to the HUD color. In this article, you’ll learn what the HUD is, why you should change HUD elements, and, most importantly, how to use the console commands to edit your HUD. Though the crosshair is a part of the CS2 HUD, we have a separate article that goes more in-depth on key console commands you can use to customize it.

Find more guides for customizing your CS2 experience on our blog!
What is the HUD?
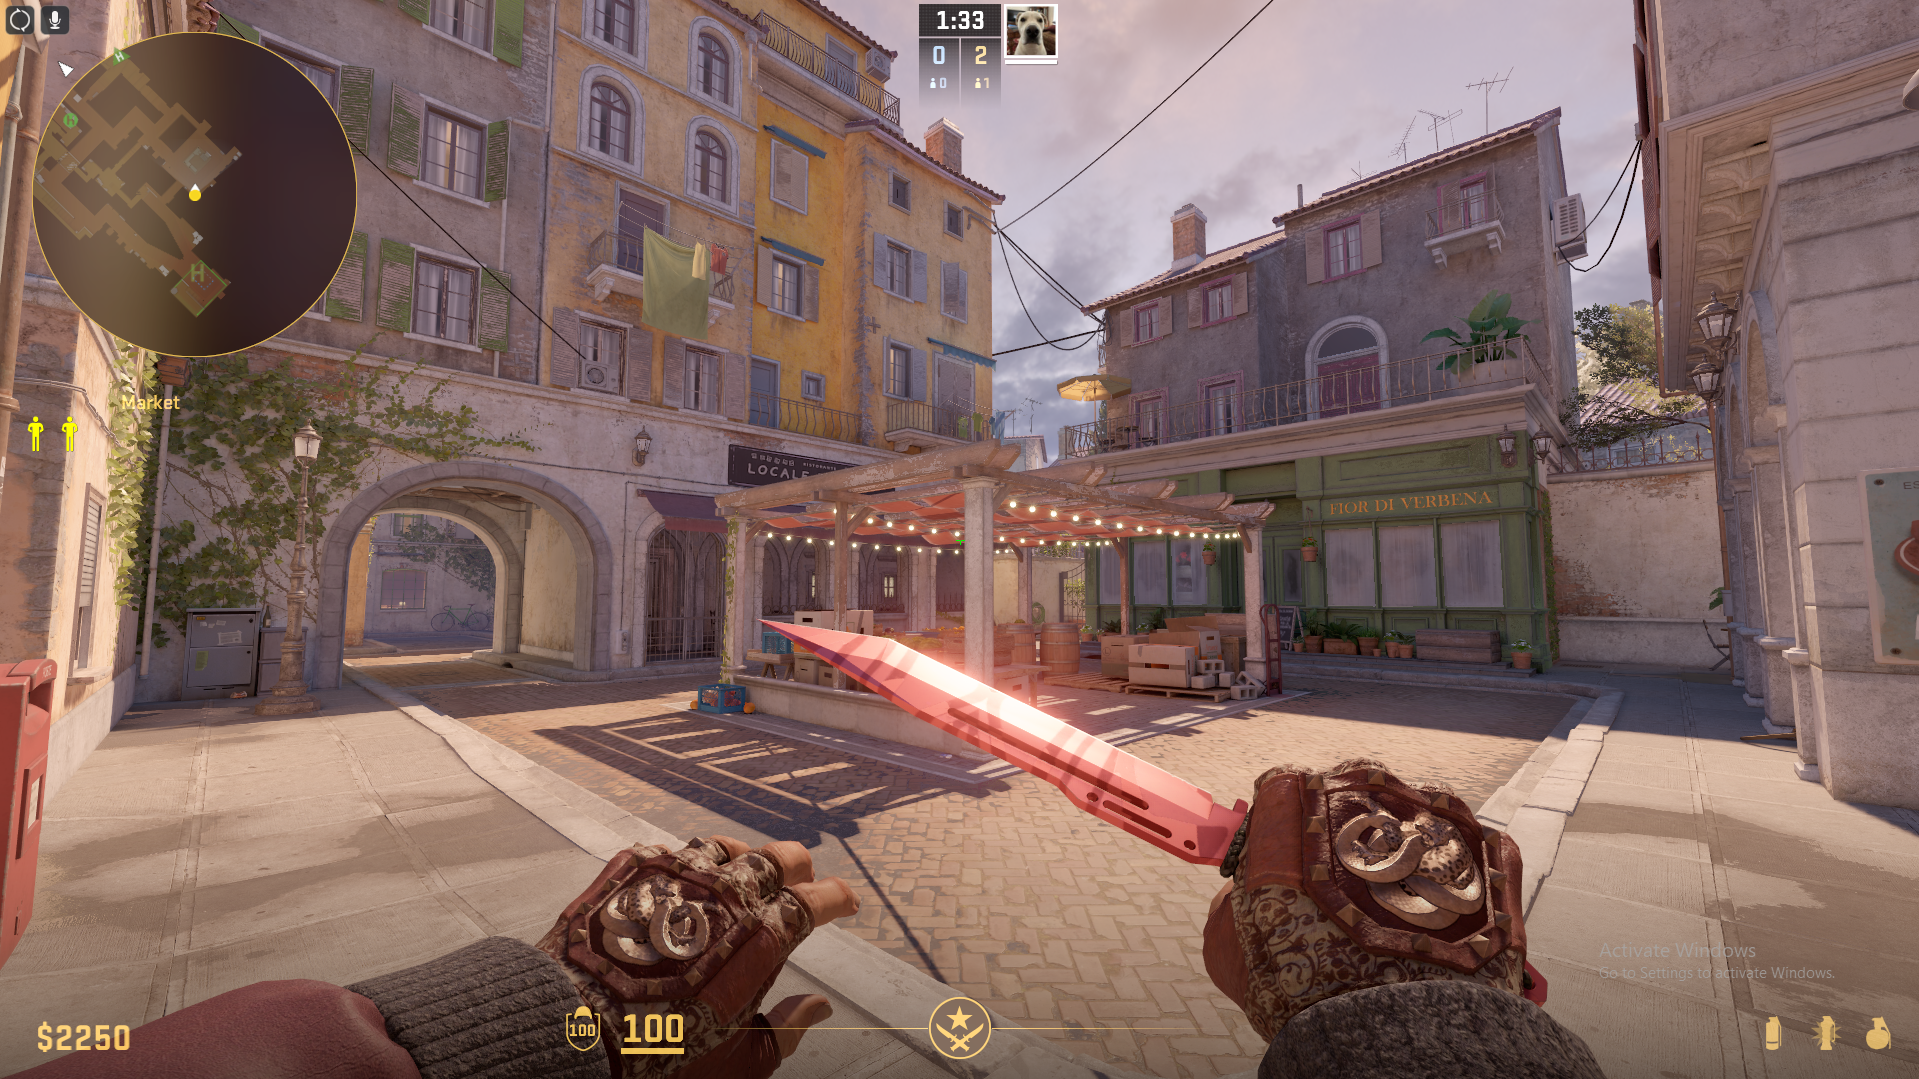
The HUD, which stands for heads-up display, displays almost all the information in each game. This extensive list includes your money, health, number of kills, ammo, guns, chat, radar, time, score, how many people are alive, and even everything in the tab menu. Each HUD element is heavily relied on in each match you play.
Why Change HUD Settings?
Customizing your CS2 HUD can significantly enhance gameplay, making pieces of information more accessible and tailored to your preferences. Here are the two biggest reasons why you may want to adjust your own CS2 HUD.
- Improved Visibility – The biggest reason you may want to change your HUD is to improve visibility. By changing the HUD color, size, and placement of HUD elements, such as the overview map, you can highlight certain pieces of information or even reduce eye strain.
- Enhanced Focus – By removing or minimizing optional pieces of information that may be distracting, you can focus solely on each game. Pieces of information that you can disable include features such as animated player avatars.
How to Change the HUD Through Settings
CS2 provides many options to change your HUD, and the easiest way to do so is through the settings menu. Only barely limited by the amount of actions you can do, the settings menu is the fastest and simplest way to change from the default setting.
Navigate to the HUD Settings – From the main menu, click on the settings icon (the gear symbol) at the top left corner of your screen. From here, navigate to the “Game” tab.

Customizing CS2 HUD Elements – Here is a list of settings you may want to adjust.
Located under the HUD tab. This setting changes the size of all HUD elements, including your money, armor, weapons, and round information. You can use the slider to change the value from the default size of 1.0.
Located under the HUD tab. This setting opens a drop-down menu where you can select different colors. Through this menu, you can also easily reset to the default value.
Located under the HUD tab. This feature replaces the avatar images of living players during each round with a team player count. When enabled, this feature is extremely helpful in decluttering your screen, making information during matches more easily accessible.
Located under the HUD tab. This setting is completly up to your preference, as it just changes the position of where notifications pop up.
Located under the Team tab. This setting opens a list of options, ranging from displaying the most information about your teammates to the least. You can choose whether you want to see no information at all or pips (little colored triangles above your teammate’s heads), names, health, and equipment. This is mostly up to personal preference. If you prefer to see other players’ information, consider selecting the option to show all, but if it’s too cluttered, consider turning it off.
Located under the Communications tab. When enabled, this setting hides animated icons of other players. Animated profile pictures can sometimes be very distracting, so consider disabling animated avatars.
Under this subsection, you have full control of all aspects of the radar. You can change whether the radar rotates, the radar hud size, the radar map zoom, and whether the radar centers you.
Under the same game tab, you can find other helpful settings as well, including features such as the ability to customize your death notices. Explore around under this tab, and adjust settings according to your preferences.
How to Change HUD Through Console Commands
Commands in this section require you to use the developer console. If you have not used console commands yet, follow this quick guide.
- Enable the Console –
- Go to game settings (the gear icon at the top left of your screen)
- Navigate to the ‘Game Settings’ Tab
- Toggle ‘Enable Developer Console’ to ‘Yes’
- Using the Console – To open the console, the default key bound is tilde (~). You can change this key based on your preferences in the keybinds tab of Settings. Once you open the console, you can enter the commands in the list below.
Here is an extensive list of CS2 HUD commands divided into categories. Simply copy and paste the command into your console, replacing ‘[value…]’ with your choice.
General HUD Settings
cl_drawhud [value 0/1]
- This command removes the entire CS2 HUD if turned to 0.
cl_hud_color [value from 0-10]
- Each value corresponds to a color, with 0 being the default value color:
- White
- Light Blue
- Dark Blue
- Purple
- Red
- Orange
- Yellow
- Green
- Aqua
- Pink
- Dark Yellow
cl_hud_scale [value from 0.9-1.1]
- This command scales the entire CS2 HUD, with 1.0 as the default value.
gameui_[activate/hide]
- This command is used to open/show the pause menu.
Radar
cl_drawhud_force_radar [value of -1/0/1]
- This command forces the radar to show even when the CS2 HUD is turned off (1), never showing (-1), or default following the HUD status (0)
cl_hud_radar_scale [value from 0.8-1.3]
- This command scales the radar, 0.8 being the smallest size, 1.3 being the largest, and 1 being the default size value
cl_radar_scale [value from 0.25-1]
- This command zooms in/out within the radar
cl_radar_icon_scale_min [value from 0.4-1]
- This command scales your dot on the minimap. 0.6 is the default value
cl_radar_always_centered [value of 0/1]
- This command centers the radar on you (1) or not centered (0)
cl_radar_rotate [value of 0/1]
- This command allows the rotation of the radar (1) or no rotation (0)
cl_radar_square_with_scoreboard [value of 0/1]
- When the scoreboard is opened, you can choose to turn the mini-map into a square (0) or keep the default circle (1)
cl_teammate_colors_show [value of 0/1]
- This command is used to see different colored dots for teammates in competitive games (1), or no colors (0)
Extra Information
cl_showfps [value of 0/1]
- Toggle an FPS counter on the top left of your screen (1), or disable it (0)
net_graph [value of 0/1]
- Toggle extra information on FPS, latency, and performance (0), or disable it (1)
net_graphproportionalfont [value from 0-1]
- Scale the size of the extra information
cl_drawhud_force_deathnotices [value of -1/0/1]
- Show kill feed even when the CS2 HUD is off (1), fully remove kill feed information (-1), or default (0)
Other Players
cl_drawhud_force_teamid_overhead [value of -1/0/1]
- Show information on your teammates even when the CS2 HUD is off (1), fully remove teammate information (-1), or default (0)
[value of +/-] cl_show_team_equipment
- Display names and equipment over the heads of teammates (+), or never show (-)
hud_showtargetid [value of 0/1]
- Enable text over enemy heads (1), or disable the text (0)
cl_teamid_overhead_maxdist [custom distance value >0]
- Set the max distance at which information about opponents is shown
Wrapping Up!
In this article, we’ve covered the heads-up display in CS2, why you should adjust it, and how to adjust it through both the game settings and the command console. There is no right answer to which CS2 HUD is the best—more or less information, which color to choose, how big to scale elements—the key is to choose what feels best for you. Keep experimenting, and have fun out there!
Similar Articles
See all
Guides
Guides

Which CS2 Cases Have Sport Gloves?
07.12.2026
0
4
Leave a reply