


CS2 Dust 2 Guide – Strategies to Master
Dust 2 stands as the most iconic map in the history of the Counter-Strike series, beloved by players for its balanced design and intense gameplay. The popularity of Dust 2, even reaching beyond Counter-Strike, is summed up pretty well by YouTuber WarOwl’s second law of first-person shooters, “If you can build a custom map, there IS a Dust2.” With Counter-Strike 2 bringing back Dust 2 into its premier map pool, it’s essential to familiarize yourself, whether you’re new or returning, with this classic. This ultimate CS2 Dust 2 Guide includes information on everything Dust 2 has to offer, from key positions on the map to in-depth strategies you and your team can use.
Key Positions in Dust 2


Dust 2 is a bomb defusal map featuring two bomb sites, the A site and the B site. Viewing the map with the T-Spawn on the south side, here’s a list of key positions in Dust 2.
- T Spawn – The starting point for the Terrorists. It’s located on the furthest south point on the map.
- CT Spawn – The starting point for the Counter-Terrorists. It’s located on the furthest north point on the map.
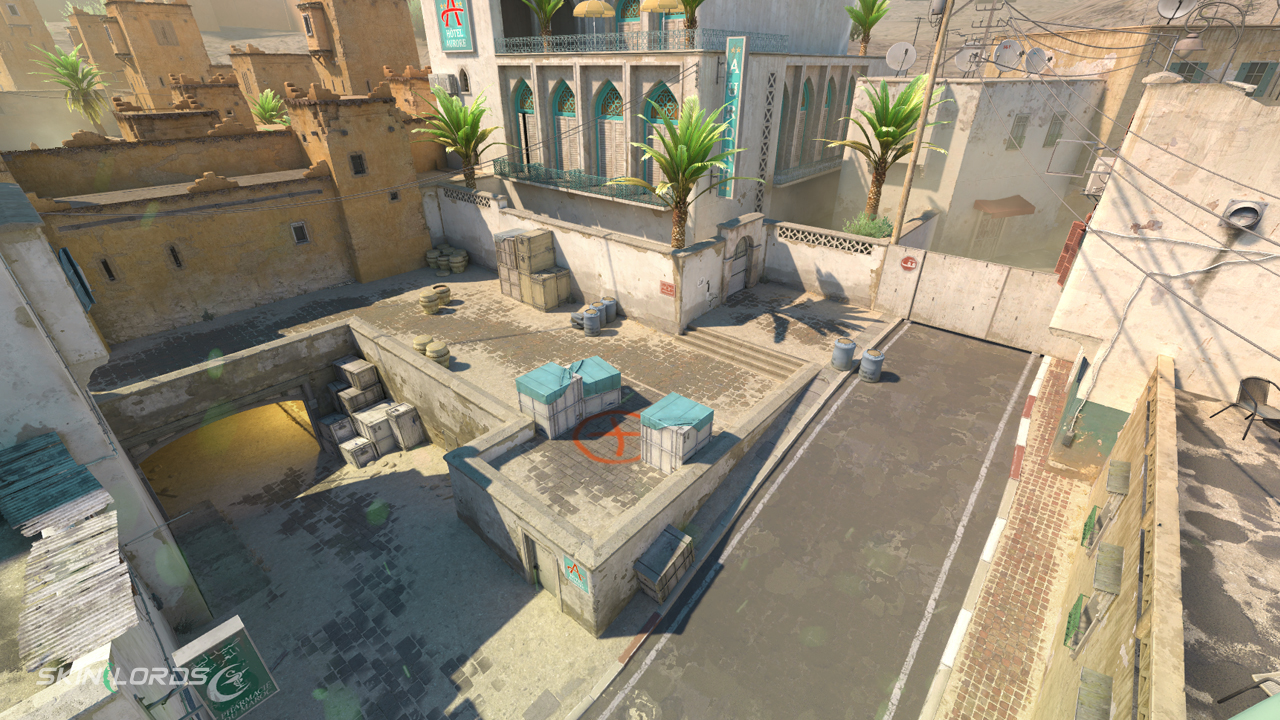
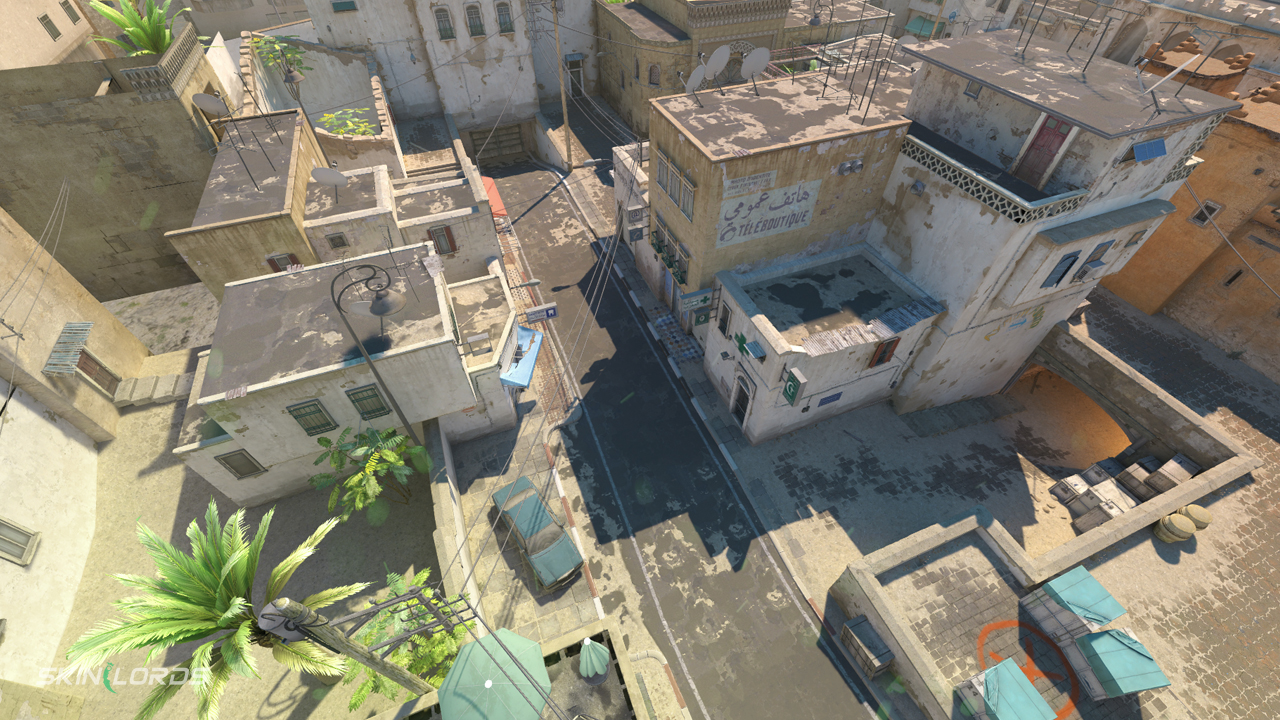
- A Site – One of two bomb sites available to the Terrorists to take. It’s located at the northeast corner of the map.
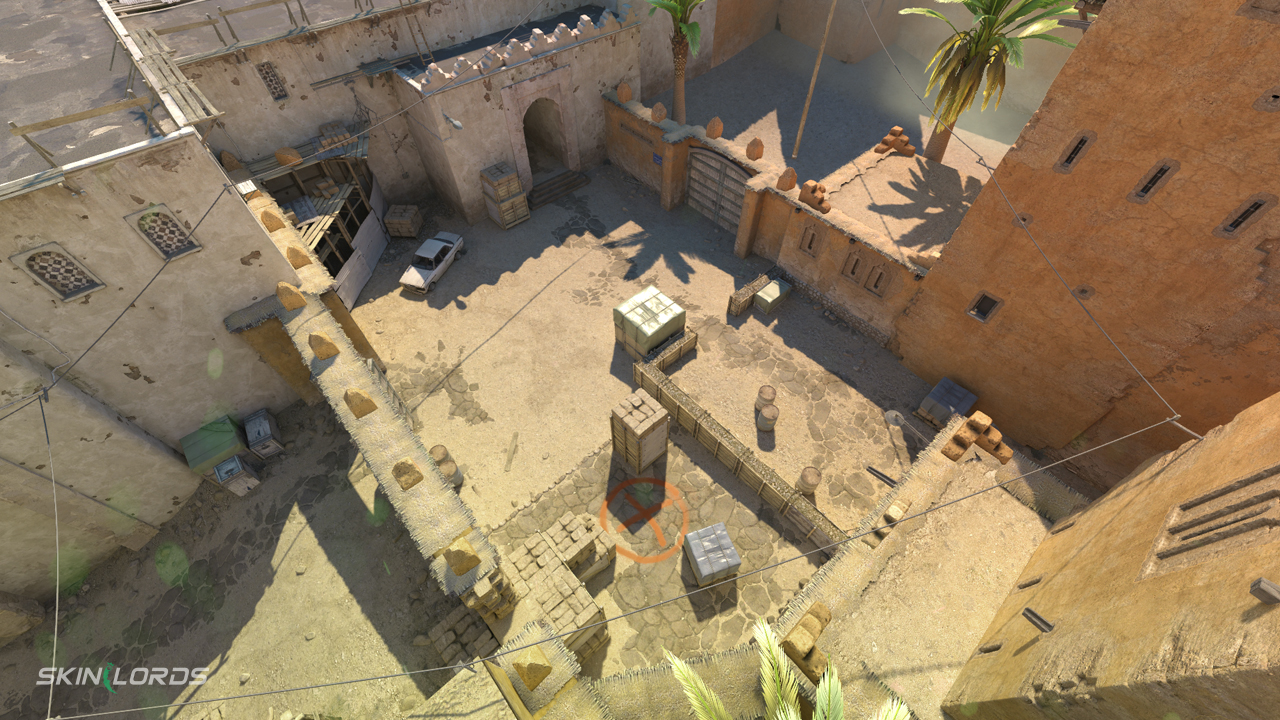
- B Site – One of two bomb sites available to the Terrorists to take. It’s located at the northwest corner of the map.
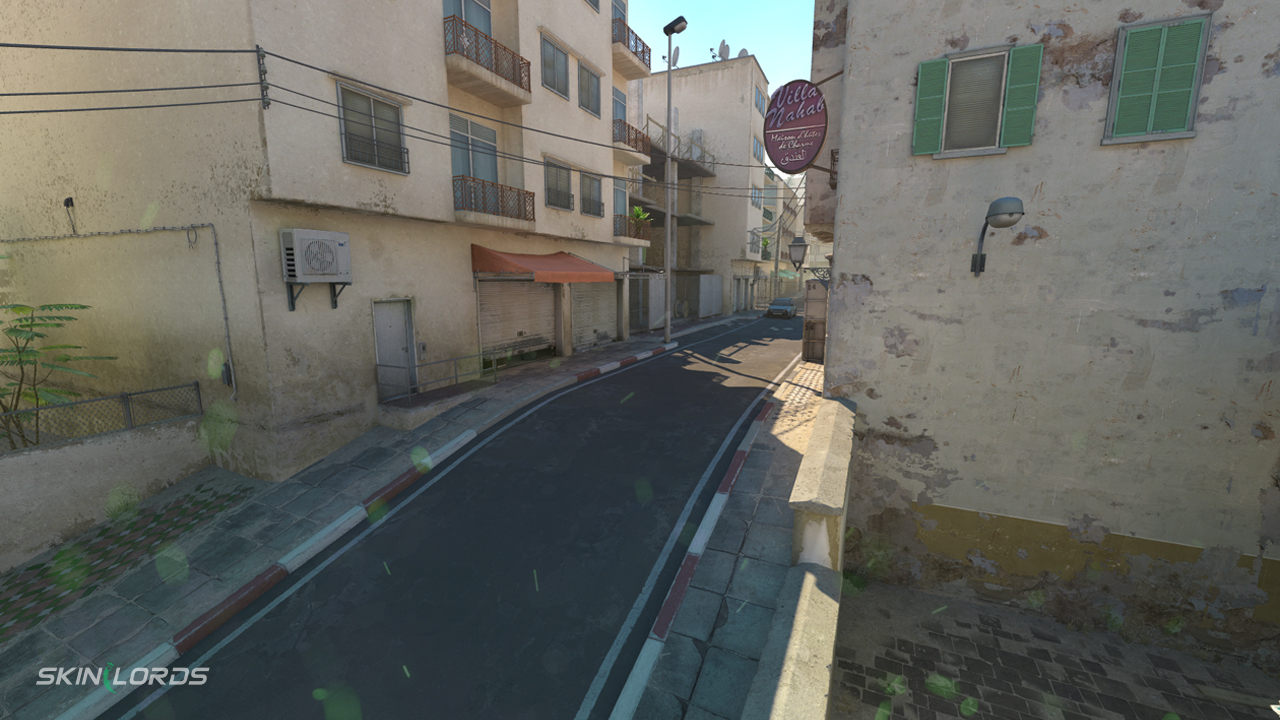
- Mid – Connects various parts of the map and also provides a direct sightline between the two teams early in each round. It runs straight through the middle of the map.
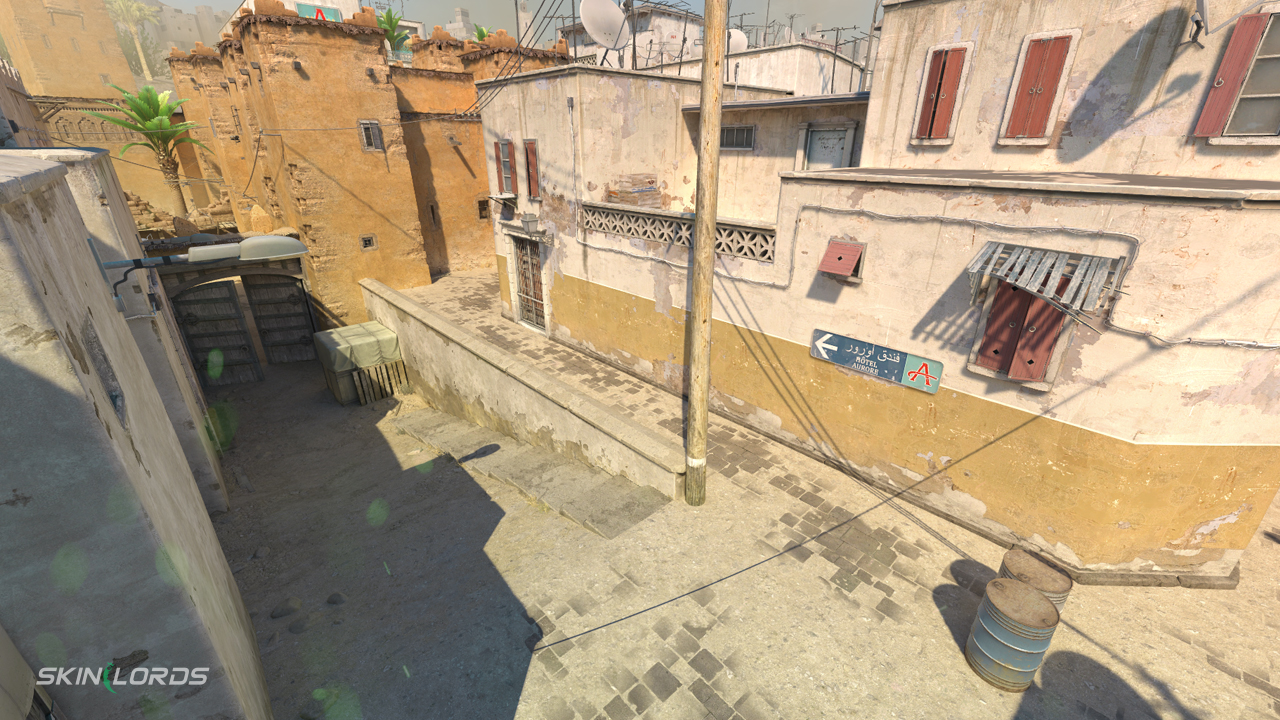
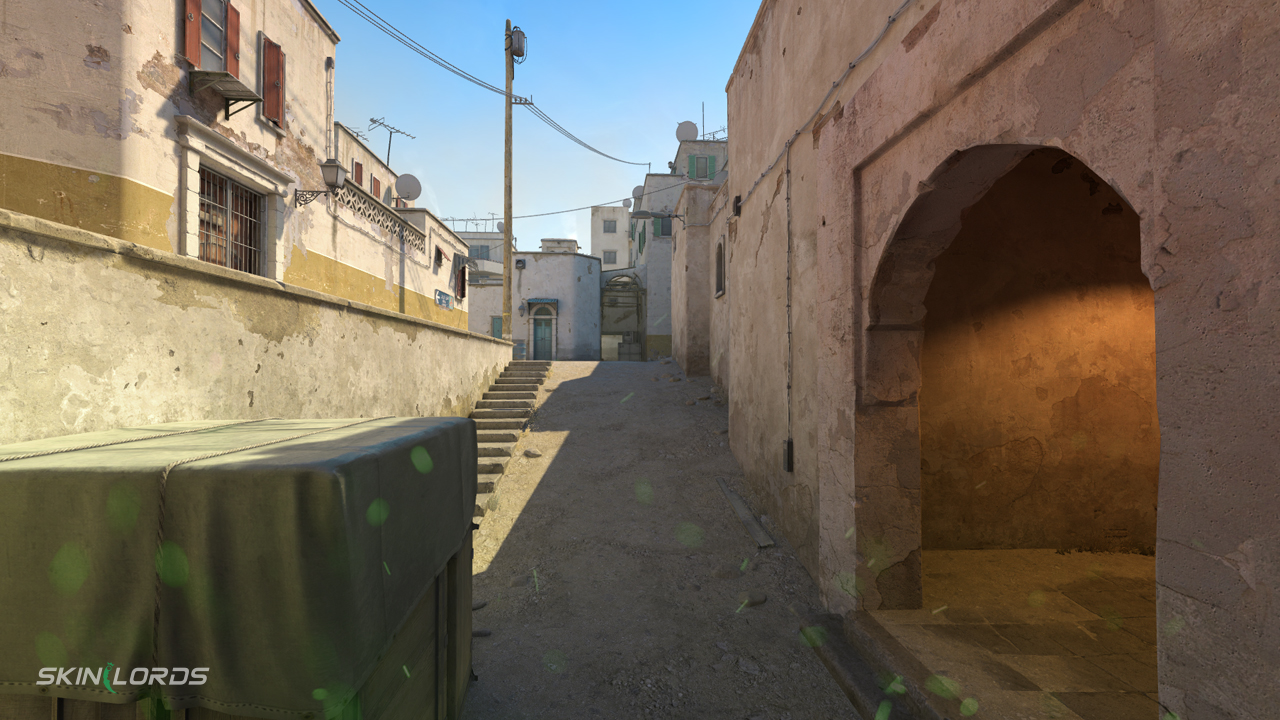
- Long A – The long pathway leading to A site from T Spawn. It’s located on the east side of the map.
- Short A (Cat) – Short A, often referred to as Cat, is the elevated pathway leading to A site from Mid. It’s located to the right of Mid.
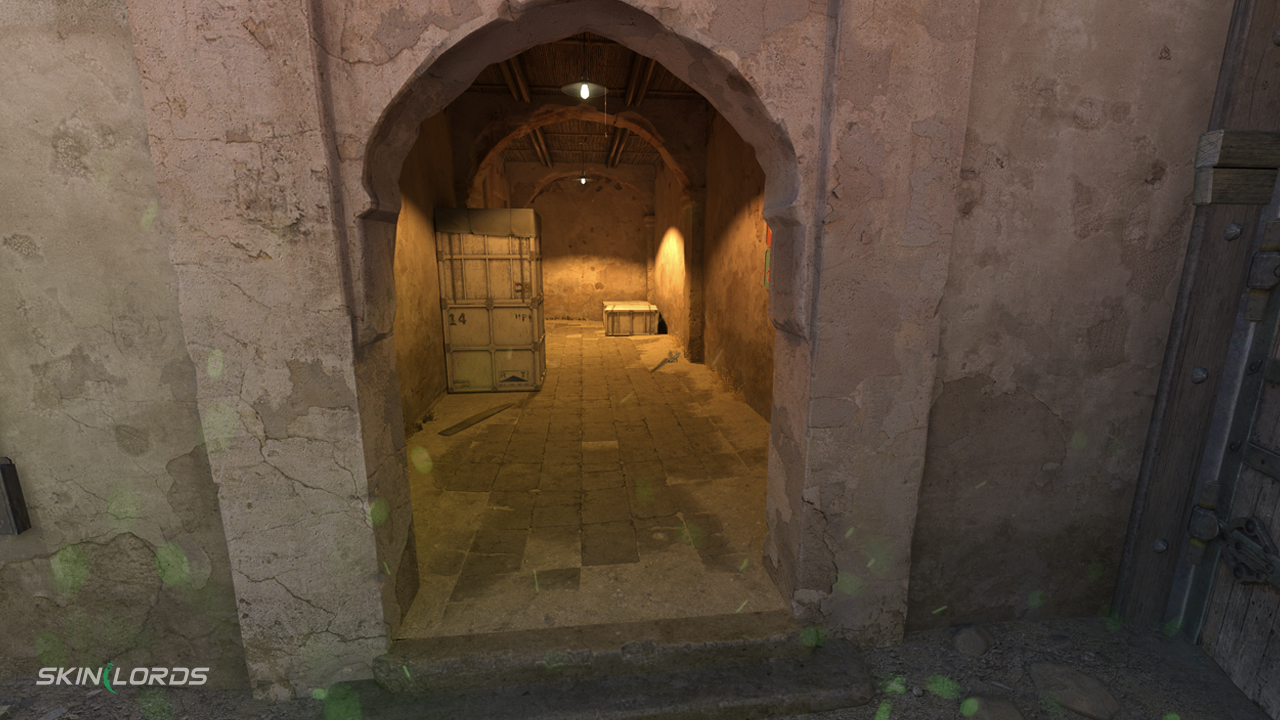
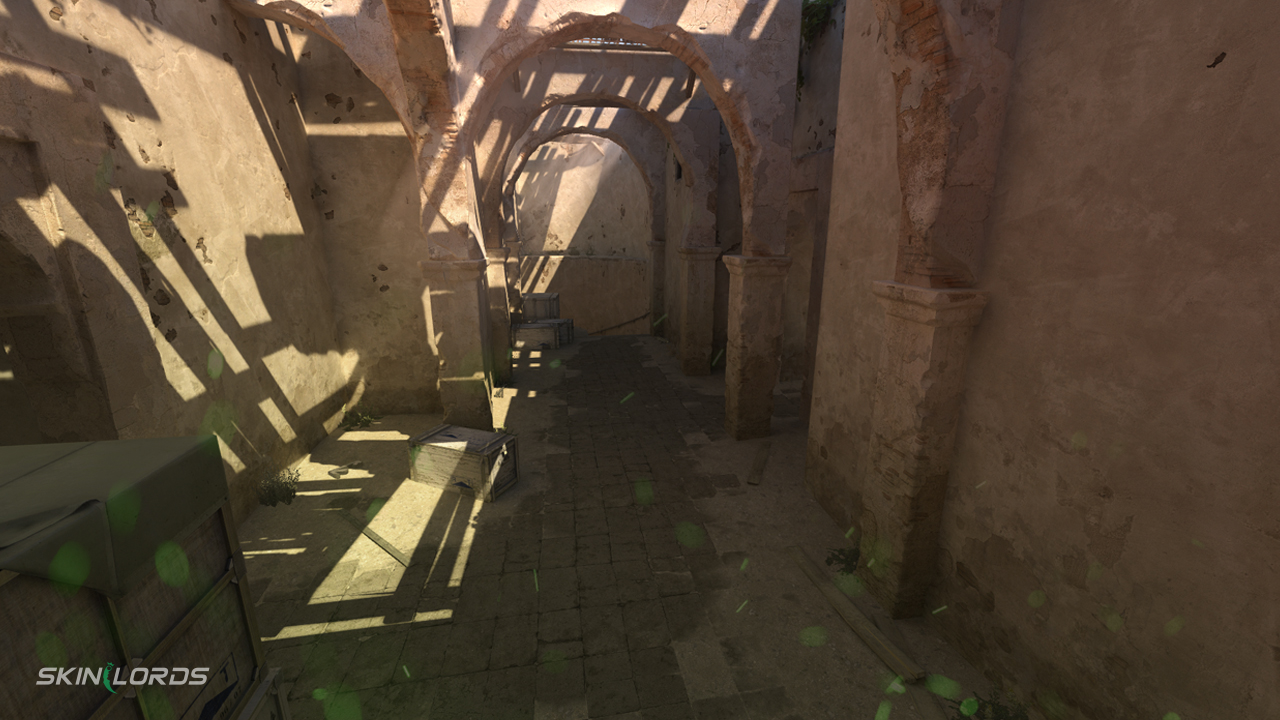
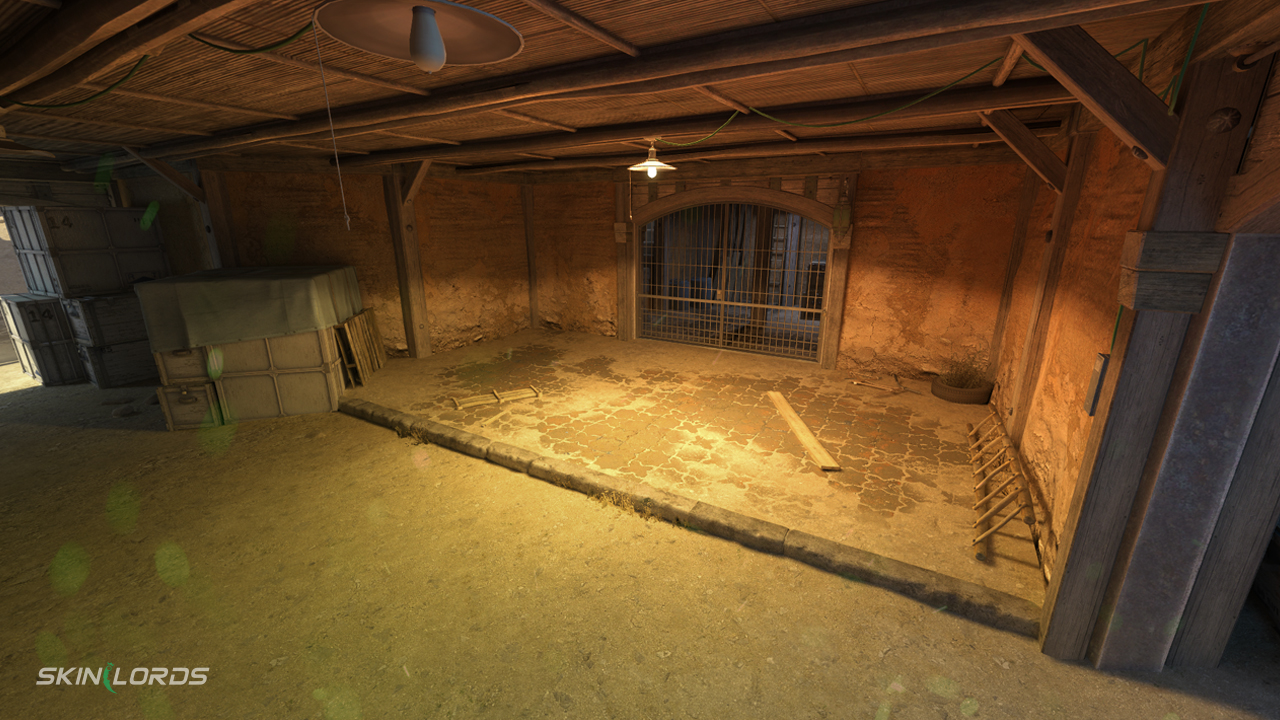
- Tunnel (B Tunnels) – The underground pathway system leading to the B site or lower Mid. It’s located on the west side of the map.
Timings of Contested Areas in Dust 2
Learning timings for new maps is perhaps the most frustrating experience, as experimentation leads to certain death. Whether you’re playing offense or playing defense, good timing on your enemies is critical in order to gain control of a contested area. Here, in our CS2 Dust 2 Guide, are the most contested areas on Dust 2 and how to take the important locations if timing is not favored.
Long timing – Long is one of, if not the most contested area in all of Counter-Strike’s maps, with players dumping thousands of dollars of utility each round to gain control of this area. Due to the fact that spawn points are randomized, it’s quite a gamble of whether peaking long doors is a good idea. The spawn positions matter even more for the T-side, as it’s far more spread out compared to the CTs. The closest T spawn point to long doors will arrive at the angle slightly faster than the best CT spawn. Terrorists can easily gain an advantage by throwing flashes over long doors as the first player crosses the first doors, blinding the CTs and guaranteeing a pick if they do peak. CTs can throw pop flashes and smokes to try to gain an advantage.

Mid Timing – Terrorists almost always have an advantage when peaking down mid-doors, gaining valuable information on how many players on the opposing team crossed towards the B site. Peaking mid-doors as a CT player can be very risky and is generally avoided. CTs do have the advantage of securing the angle on barrels top mid, however, stopping any players from crossing over to Cat. For this reason, for any T-side players attacking Cat, it’s highly recommended to throw an X-box smoke to guarantee safe crossing when taking A through Cat.

Cat Timing – CT players who plan on playing offensive can either get a boost from the boxes close to CT spawn to climb straight onto Cat. This allows the CT player to walk down the stairs on Cat and hold the angle, surprising any T-side players who maybe won’t expect the timing. As this requires two players, CT players can also take the shortest path to get on Cat from spawn by jumping on the box under site and cutting corners when running to Cat. To safely enter Cat, T-side players are recommended to first throw an X-box smoke to ensure safe passage from mid and a pop flash to clear any corners on Cat.
B Timing – CT players will always have the advantage when holding the B bombsite. The attacking team will have to clear all corners, from the backside to little corners on the left side of the upper tunnels. For this reason, when attempting a B bombsite take, it’s recommended to throw smoke lineups to cover B doors and windows, allowing your team to focus on clearing the many corners on B. Beware as well, that CTs have the advantage of lower tunnels timing, and can run up to upper tunnels surprising the T players if one is not posted watching the stairs angle.
Set-Up and Where to Play

Team coordination is the most important aspect of playing offense and defense on any map. Here are the positions to play and the split between the five players we recommend for our CS2 Dust 2 guide. It’s ideal to always follow this split unless a special call is issued. It’s also recommended that players are adaptable, going to positions favored by their spawn points to take advantage of the possible timing over enemies.
Counter-Terrorists’ Strategies
The recommended split of players playing defense on Dust 2 is 3-1-1.
Mid – 1 Player
- The Mid player’s main objective is to gather information on the opposing team. Instead of peaking right down mid-doors, the Mid-player should instead position to the right of the truck, looking down the barrels at Top-Mid. This ensures control over any T players attempting to run down Cat, which you can call out to inform the A players. If you’re smoked out at X-box, you can either watch lower mid to ensure that the enemy players don’t enter into CT spawn or rotate to watch B tunnels through the B doors. Effective communication is extremely important for the Mid-player.
A Site – 3 Players

- There is a huge emphasis on the A site, as it is much harder to defend. The three players are spread between defending Cat and Long, with two players usually stationed long – one peaking and one supporting with flashes or other utility. The other A player is posted on Cat, taking advantage of the timing of the Cat stairs. This player also, in a way, doubles as the player.
B Site – 1 Player

- B Site is the easiest of the two sites to hold on Dust 2. B players should always have utility, with at least a Molotov and, ideally, a smoke and grenade. This delays the push of any T-side players and allows your Mid player to rotate and assist you. As you have timing over the upper tunnels peak, you can station on the platform or backsite with a sniper to get some easy peaks.
Other Options
- If an extra player holding long is not needed or the enemy team tends to go to one particular site, it can be a good idea to put more emphasis on defending certain parts of the map. CT players can also play more aggressively by pushing the upper tunnels through lower tunnels or running up mid, sticking to the left side of the wall to avoid enemy snipers and catch any T-side players running too long doors or barrels in top mid. This established mid-control can easily help your team gain an edge and greatly improve your chance of winning the round through these surprise tactics.
Terrorists’ Strategies
While there are no set positions to play in every match on the T side, there are reliable splits you can execute to take either site.
A Execute

When taking A, it’s recommended that the T players do a 3-2 split between Long and Cat. Sending three players long guarantees that there’s enough utility to reliably take control of the heavily contested area and have enough players to trade one another. The three players should expect at least two CT players stationed long. To win over long, the players behind the entry fragger should throw at least one or two flashes over the long doors to assist the teammate peaking, with the timing on the throw being when the entry fragger enters the first of the two long doors. For the players heading Cat, it’s strongly recommended in our CS2 Dust 2 guide that a smoke be thrown on top of X-box, blocking vision of any CT player that may be holding it with snipers. The objective of the two Cat players is to push through mid and add pressure to the CT players holding site by peaking at the same time as the players attacking from long. Communicate with your teammates, make use of utility, and the bomb site should be easy to execute.
B Site

For B Site rushes, you have two choices: send all five for a rush through upper tunnels or do a split between mid and B.
For a good old straight B rush, there’s not much strategy involved aside from tapping heads… or holding the left mouse button with a MAC-10. As you enter the upper tunnel, your team should dedicate one person to hold the lower tunnel just for a few seconds as your team gets ready to rush. One teammate should also be dedicated to throwing some flashes when rushing, as well as a smoke for the B doors and even window if it’s known.
To execute a more sophisticated strategy and guarantee the win, it’s a good idea to send three people through the upper tunnels and two through the lower tunnels to take mid-control. The teammates in upper tunnels can follow the same strategies above – smokes and flashes on site. The players stationed in lower tunnels should go to X-box, line up a smoke for CT, and throw a pop flash off the wall on top of X-box. Following the flash, take lower mid control, establish window control for your teammates in upper tunnels, and help them clear the site. As CT is already smoked, this should be a pretty safe endeavor, given that your teammates in upper tunnels are applying pressure as well. This is one of the best strategies to execute in our games.
Wrapping Up!
Dust 2, after 23 years of being an inseparable part of the Counter-Strike series, still introduces new tactics that keep the map fresh. Our ultimate CS2 Dust 2 Guide has covered the essential pieces of information to guarantee wins in every one of your games, including the key positions, timings, and strategies for both CT and T players. Keep perfecting your gameplay, and have fun out there!
Similar Articles
See all
Guides
CS2 Marketplace GamerPay is Shutting Down
05.01.2026
0
199
Guides

Best CS2 Knives for the Driver Gloves Garden
04.24.2026
0
572
Leave a reply