


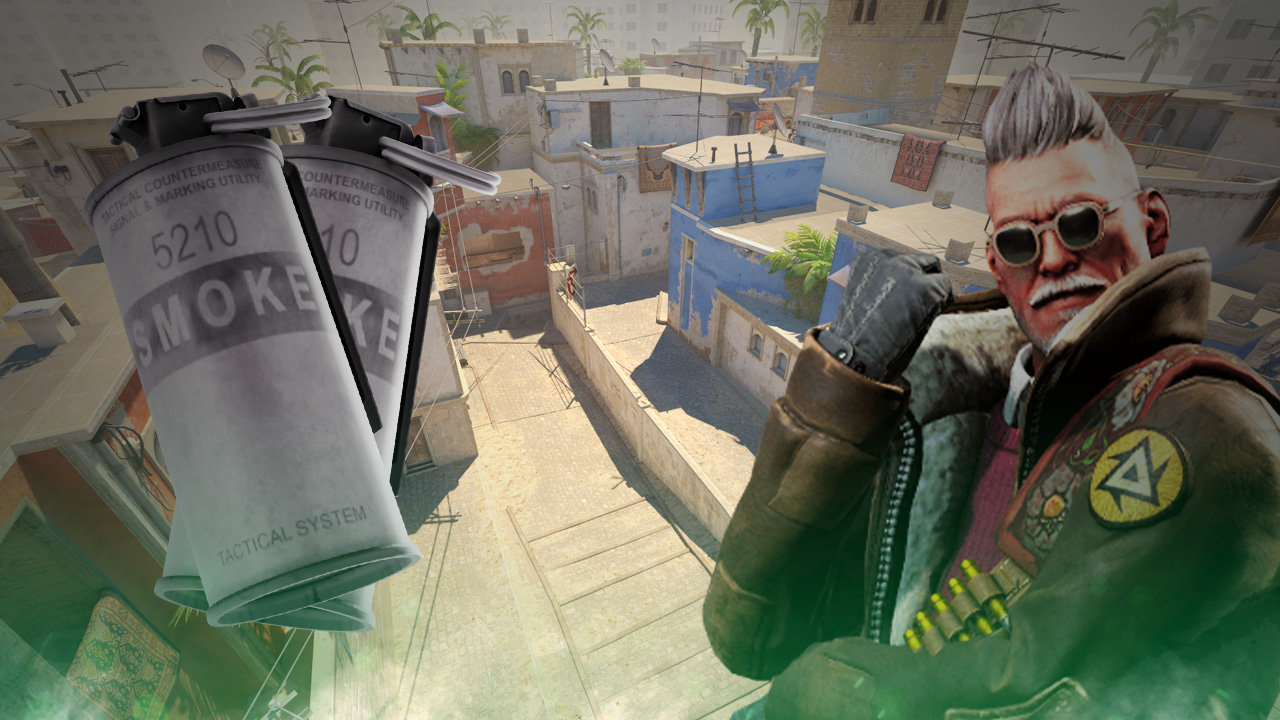
The Best Mirage CS2 Strategies: Master T Side Utility Usage
T Side on Mirage has got to be the single most well-known playbook of all time. Various kinds of players from those hardstuck in Silver to the professionals that clock in daily at international tournaments all run pretty much different variations of the same tried-and-tested strategies from the past decade or so.
And yet, no matter how basic it sounds to know simple CS2 Mirage utility, tactics, and executes, they remain popular because they work. Even if it’s already been done thousands of times before, the result seems to never change.

For a complete guide on mastering Mirage in CS2, check out this article:
CS2 Mirage A Site Terrorist Utility
One of the most commonly used executes not just on Mirage but in all of Counter-Strike is the map’s triple smoke setup for A Site. This requires three players smoking off angles such as Ticket Booth/CT Spawn, Jungle/Connector, and Stairs. Alternatively, one player can throw all three smokes from the same spot close to the Terrorists’ spawn point, which is usually what happens when trying to sell a fake.
Blocking off those three positions immediately cuts off a large amount of vision for the CTs since those are three of the most common spots that a Counter-Terrorist can stay. Of course, an execute like that almost always suggests a full A Site hit, but by the time everything is set, it’s usually too late to get ahead of the plant.
Firebox, Triple Box, and Under Palace are also two more key hiding spots for the attacking side to quickly check upon getting out of A Ramp or Palace, and simple Molotovs to the general area would be more than enough to confidently push through the rest of the site.
CS2 Mirage B Site Terrorist Utility
Every choke point on Mirage’s B Site can be blocked off to perfection through a combination of utility thrown by the whole team. Some of the most effective ones are smokes that block off Market Window or Market Exit, Molotovs that directly target Van, and other forms of utility towards the Short area.
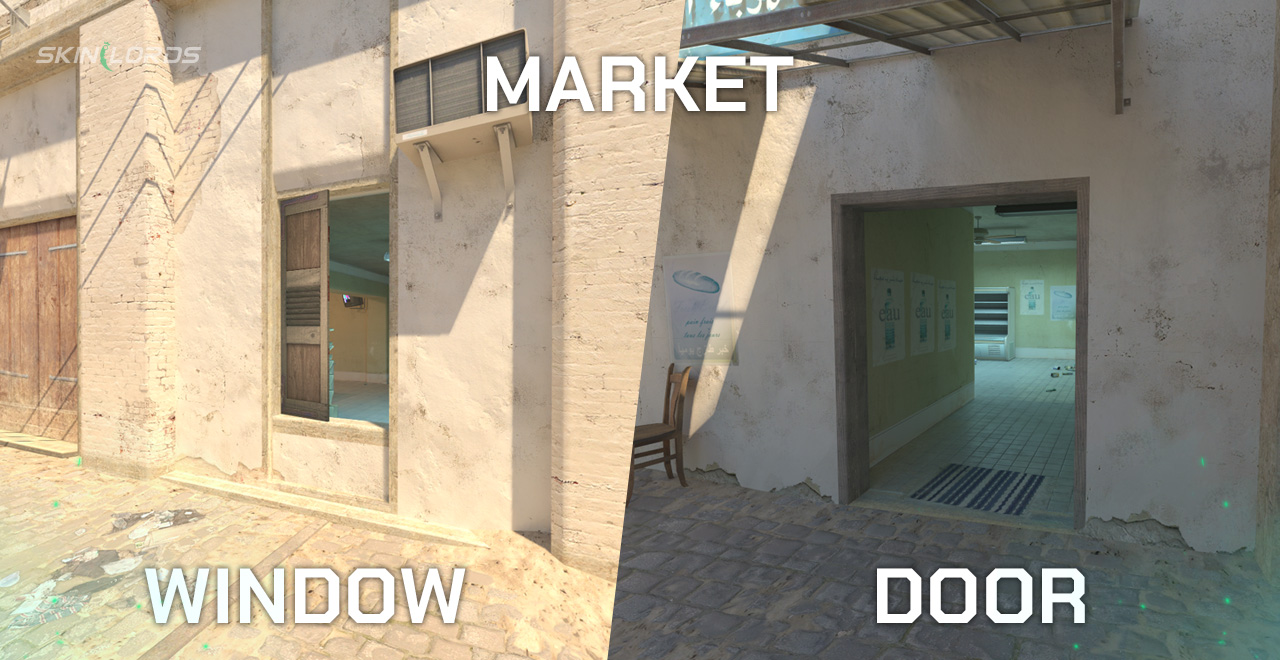
Market Window and Market Door are common hiding spots that the CTs take against the attacking side, particularly if they are slightly behind on timing or simply want to have the vision advantage towards B Apartments. Blocking off these two angles will make the entry towards B a whole lot easier.
Defending players also typically position themselves towards Short and around Van, especially those with sniper rifles on hand. Both Arch positions on B Site can be easily smoked off with simple lineups, which fully protect against rotator CT players coming from Connector or Window.
Finally, utility towards the Van area can be as simple as a point and click towards said area; however, there are some lineups that will greatly reduce the risk of getting shot if the defending player has quick reflexes.
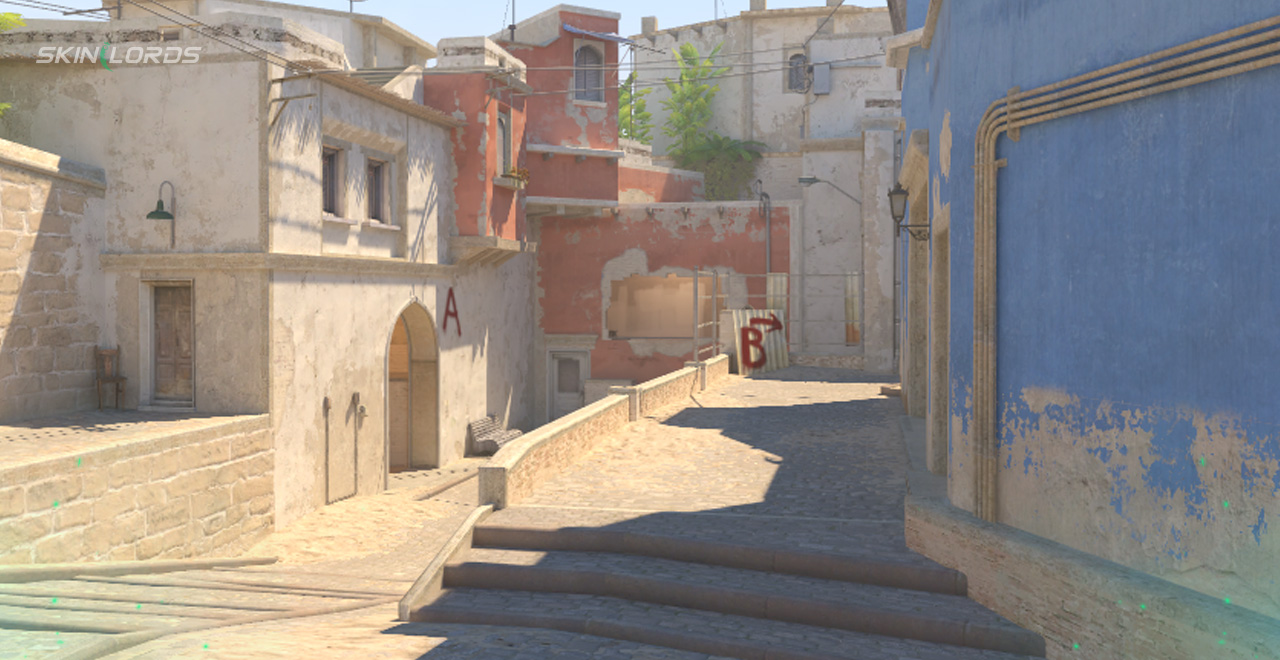
CS2 Mirage Mid-Round Rotations
A lot of the time, the T Side plays heavily towards mid control when changing their approach during a round. Since going through their own spawn point takes too much time, especially coming from either bomb site, protection against players situated along Short, Window, or Ladder Room will be key to any successful rotation.
One of the most famous, versatile, and challenging smokes to get right on Mirage is the T Side Window smoke. Many variations of this smoke exist, with the end goal being to eliminate defensive threats across a wide view of Top Mid.
Utility is usually at a minimum at this point in any round, so the choices of which sections of the map to block off are critical. In any case, however, it’s significantly easier to deal with opponents hiding around Connector/Stairs than it is to fight a skilled AWPer or rifler in Nest/Window.
Now that you have mastered CS2 Mirage Utility for the Terrorist side, check out this article to learn the Counter-Terrorist Mirage Utility to truly master the map.
Similar Articles
See all
CS2 Guides
Best BetBoom Cologne 2026 Sticker Crafts
06.19.2026
0
29
CS2 Guides
Will CS2 Ever Come to Console?
06.18.2026
0
31
Related Casinos
Leave a reply